

Multiliner Pens and Watercolor: The Perfect Combination for On-The-Go Artists
Most of the visual art I create these days is digital, using my trusty iPad.
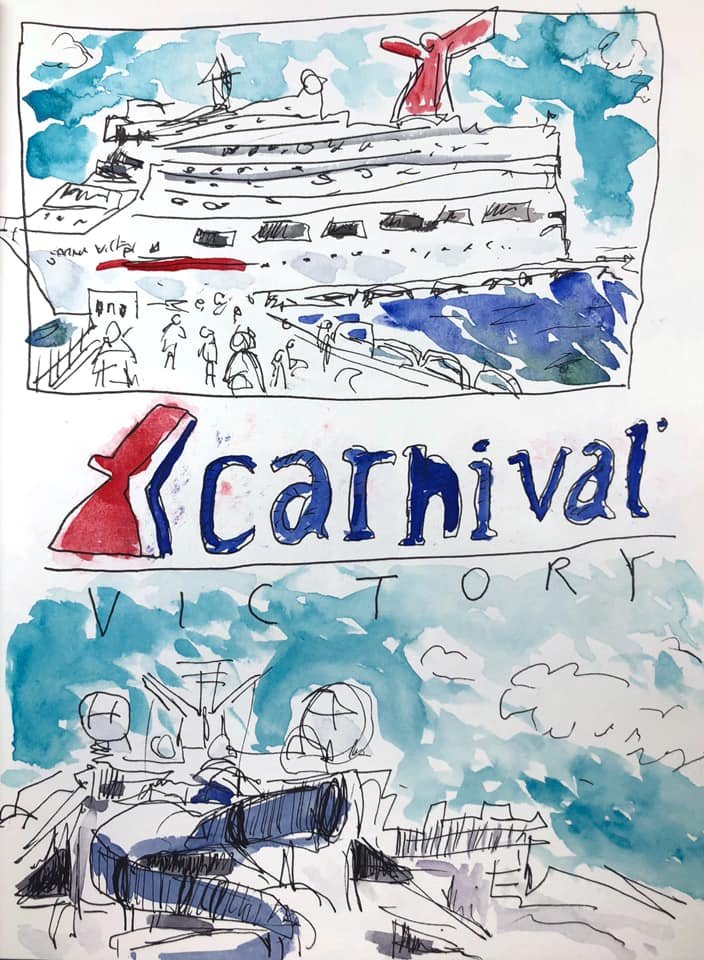
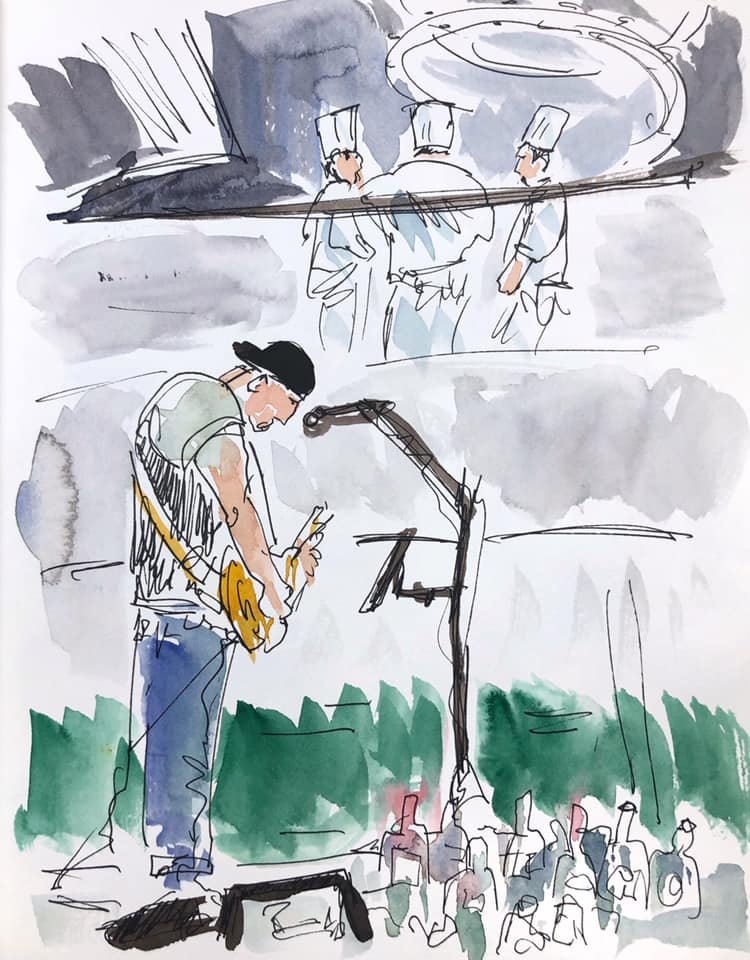
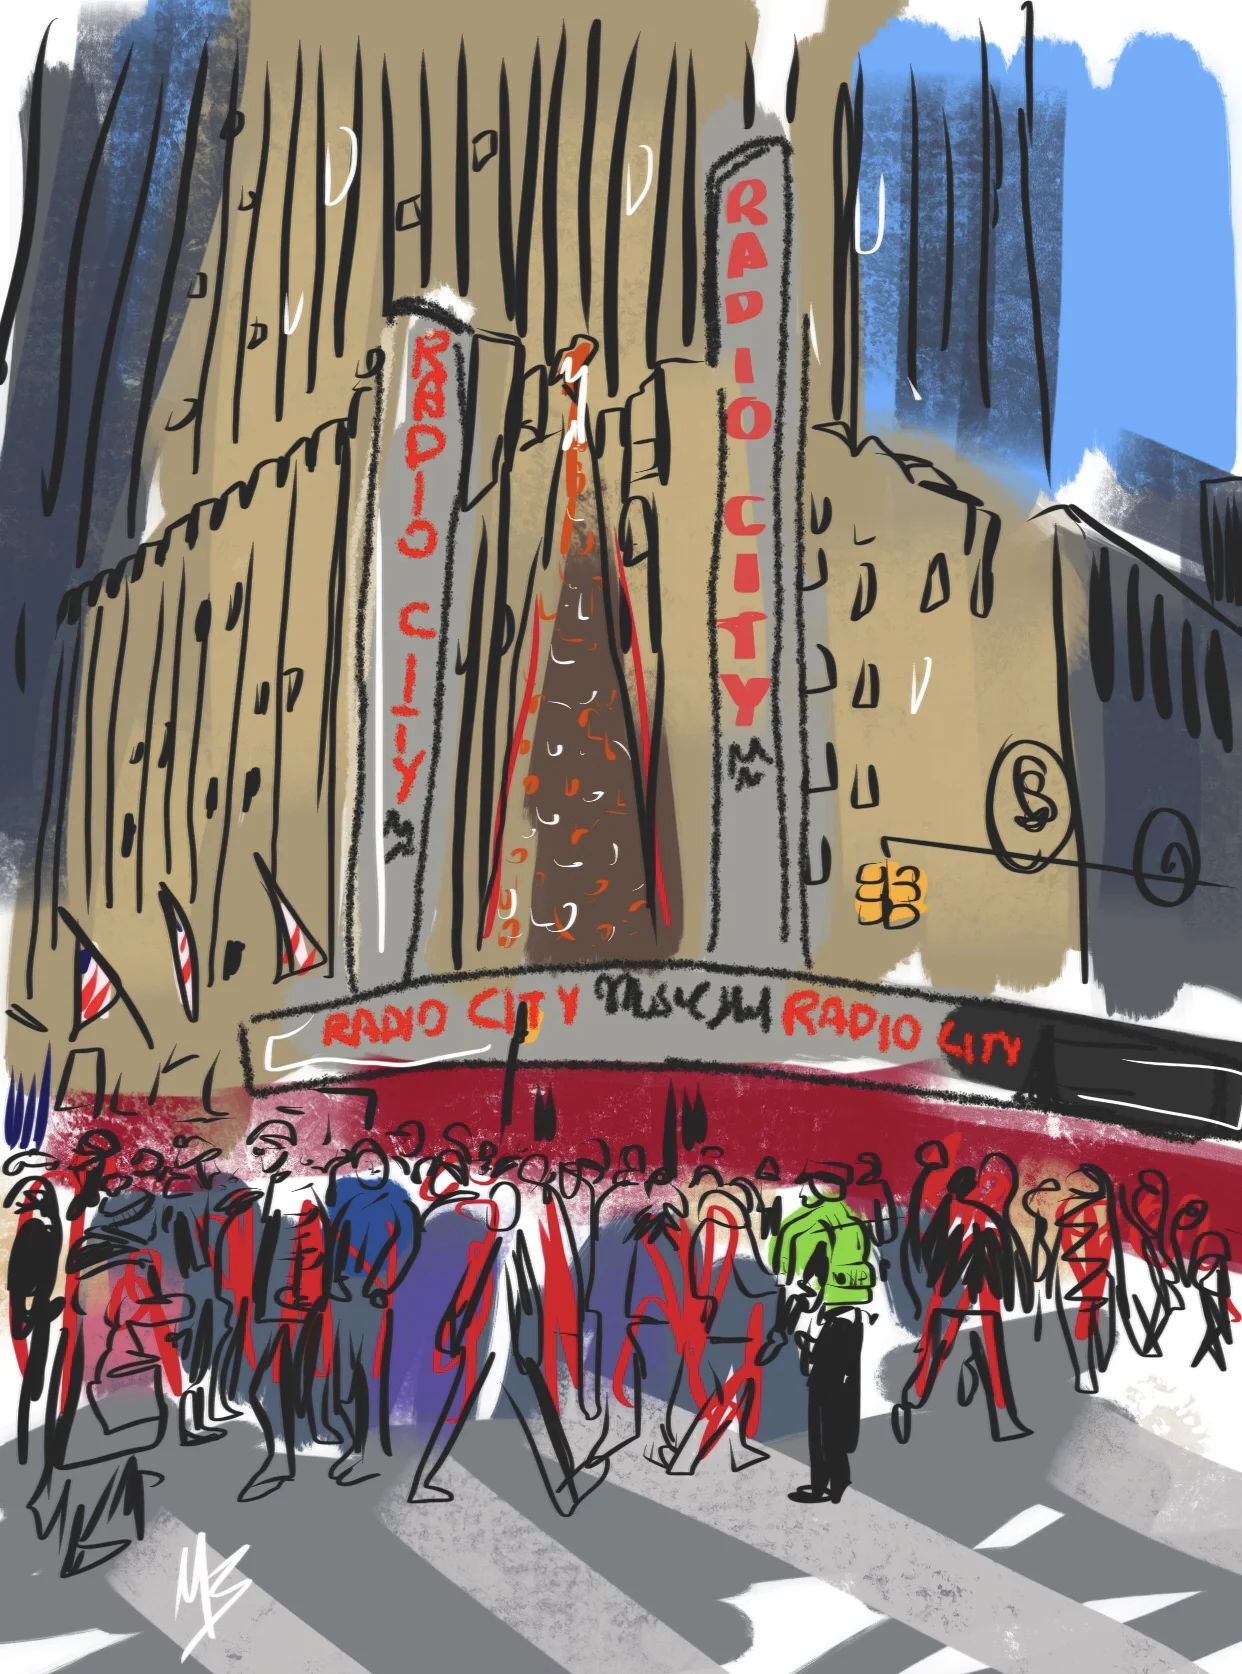
But every so often I love to return to some tactile roots and grab my sketchbook, Multiliner pens and travel watercolor kit. There’s nothing like setting up on location to capture some sights and experiences that are playing out right before you. It’s a great way to remember moments, special or ordinary.
If you’re new to the sketch scene, or returning after some time away, here are some pointers to help you navigate your sketch opportunity!
Multiliner pens are a versatile tool that can be used for a variety of drawing techniques. They are especially well-suited for drawing on the spot, as they allow you to create precise lines and details. If you want to add a touch of color to your drawings, you can also use watercolor. (That really makes your sketches sing!)
Here is a step-by-step guide on how to combine multiliner pens and watercolor:
Choose your subject. This could be anything from a landscape to a portrait to a still life.
Sketch your subject using a multiliner pen. Use light lines so that you can easily adjust them later if needed.
Add details to your sketch using a thicker multiliner pen.
If you want to add color, dilute some watercolor paint with water.
Use a brush to apply the watercolor to your drawing. Start with light washes and build up the color gradually.
Let the watercolor dry completely.
Need some tips for combining multiliner pens and watercolor?
Use a high-quality watercolor paper. This will help to prevent the watercolor from bleeding through the paper.
Be careful not to overwork the watercolor. Too much water can make the paper buckle.
If you make a mistake, you can erase the watercolor while it is still wet.
Experiment with different colors and techniques to find what works best for you.
Combining multiliner pens and watercolor is a great way to create detailed and colorful drawings. With a little practice, you can learn to create beautiful and unique artwork.
Here are a few additional tips to help you succeed:
Use a light touch when sketching with the multiliner pen. You can always add more lines later, but it is difficult to erase lines once they are drawn.
If you are using a watercolor pencil, you can apply the color directly to the paper without diluting it with water. This will give you a more opaque color.
You can also use watercolor markers to add color to your drawings. Markers are a quick and easy way to add color, but they can be more difficult to blend than watercolor paint.
With a little practice, you will be able to create beautiful drawings that combine the precision of multiliner pens with the vibrancy of watercolor.
So get out there and start experimenting!

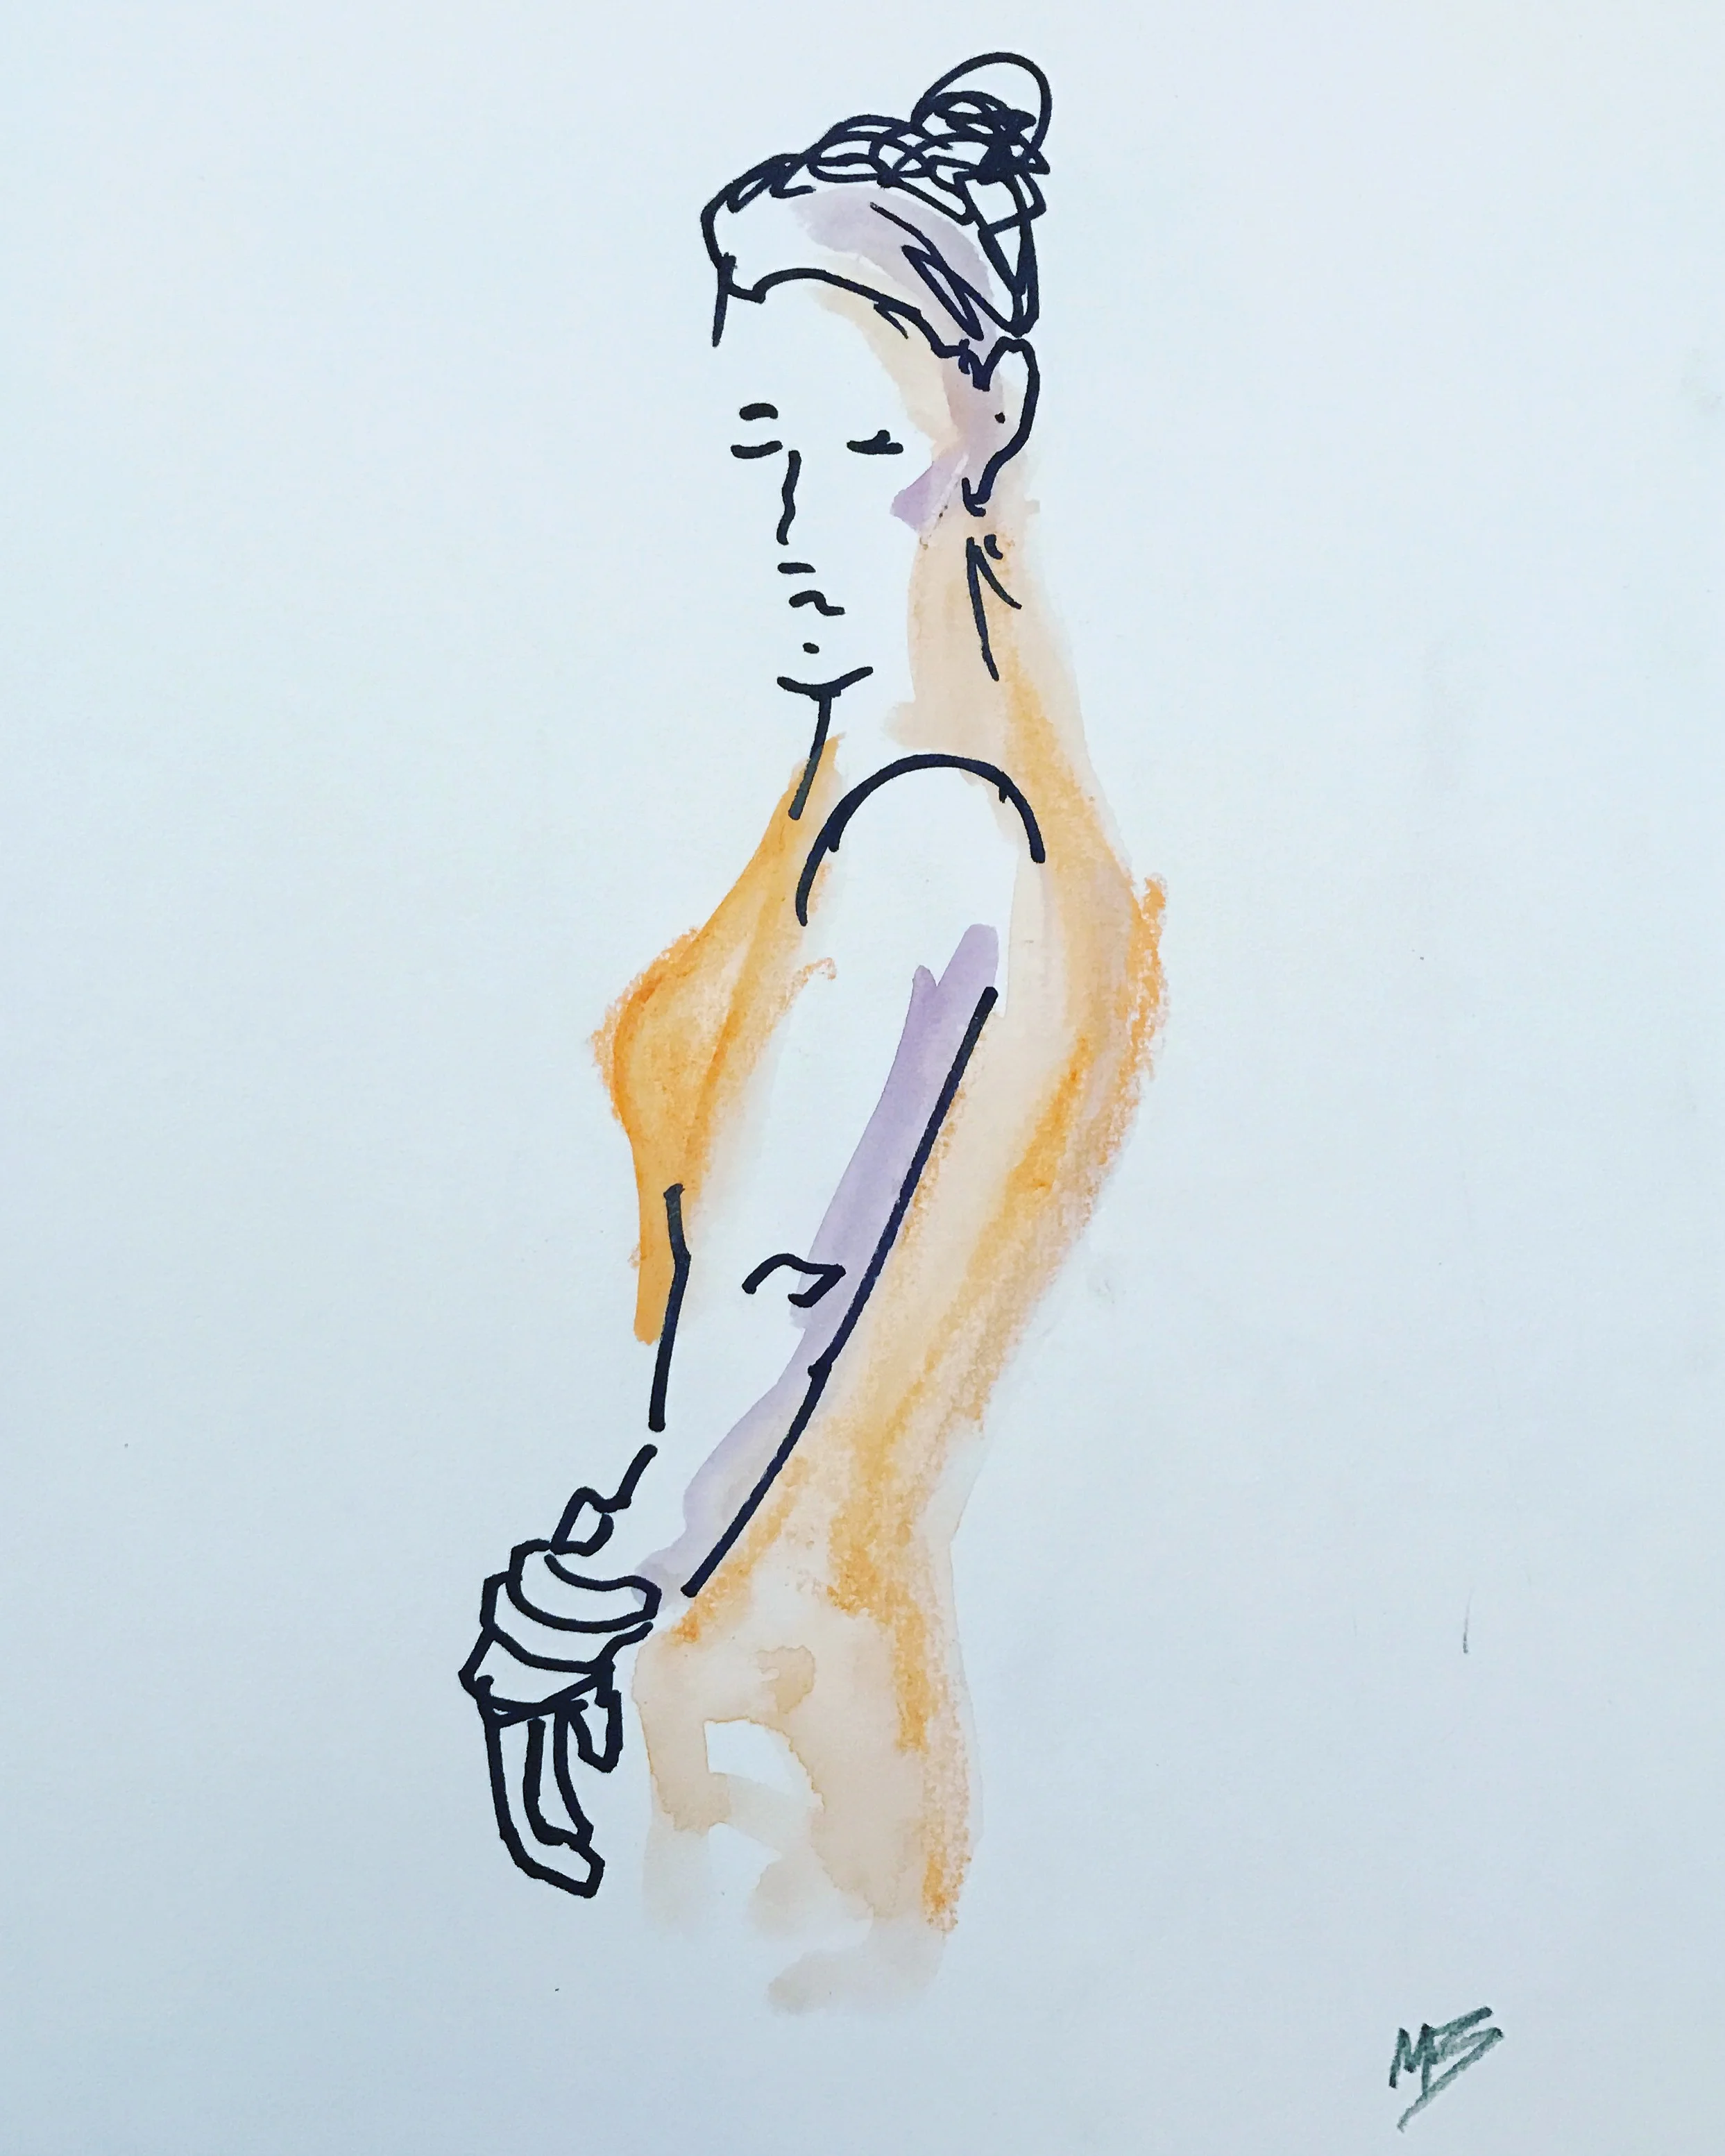
How to Make Fashion Drawing and Illustration Templates
Have you ever wanted an inside peek into an artists’ process?
Whether you consider yourself an artist or not, it’s always fascinating what you can learn by watching someone create.
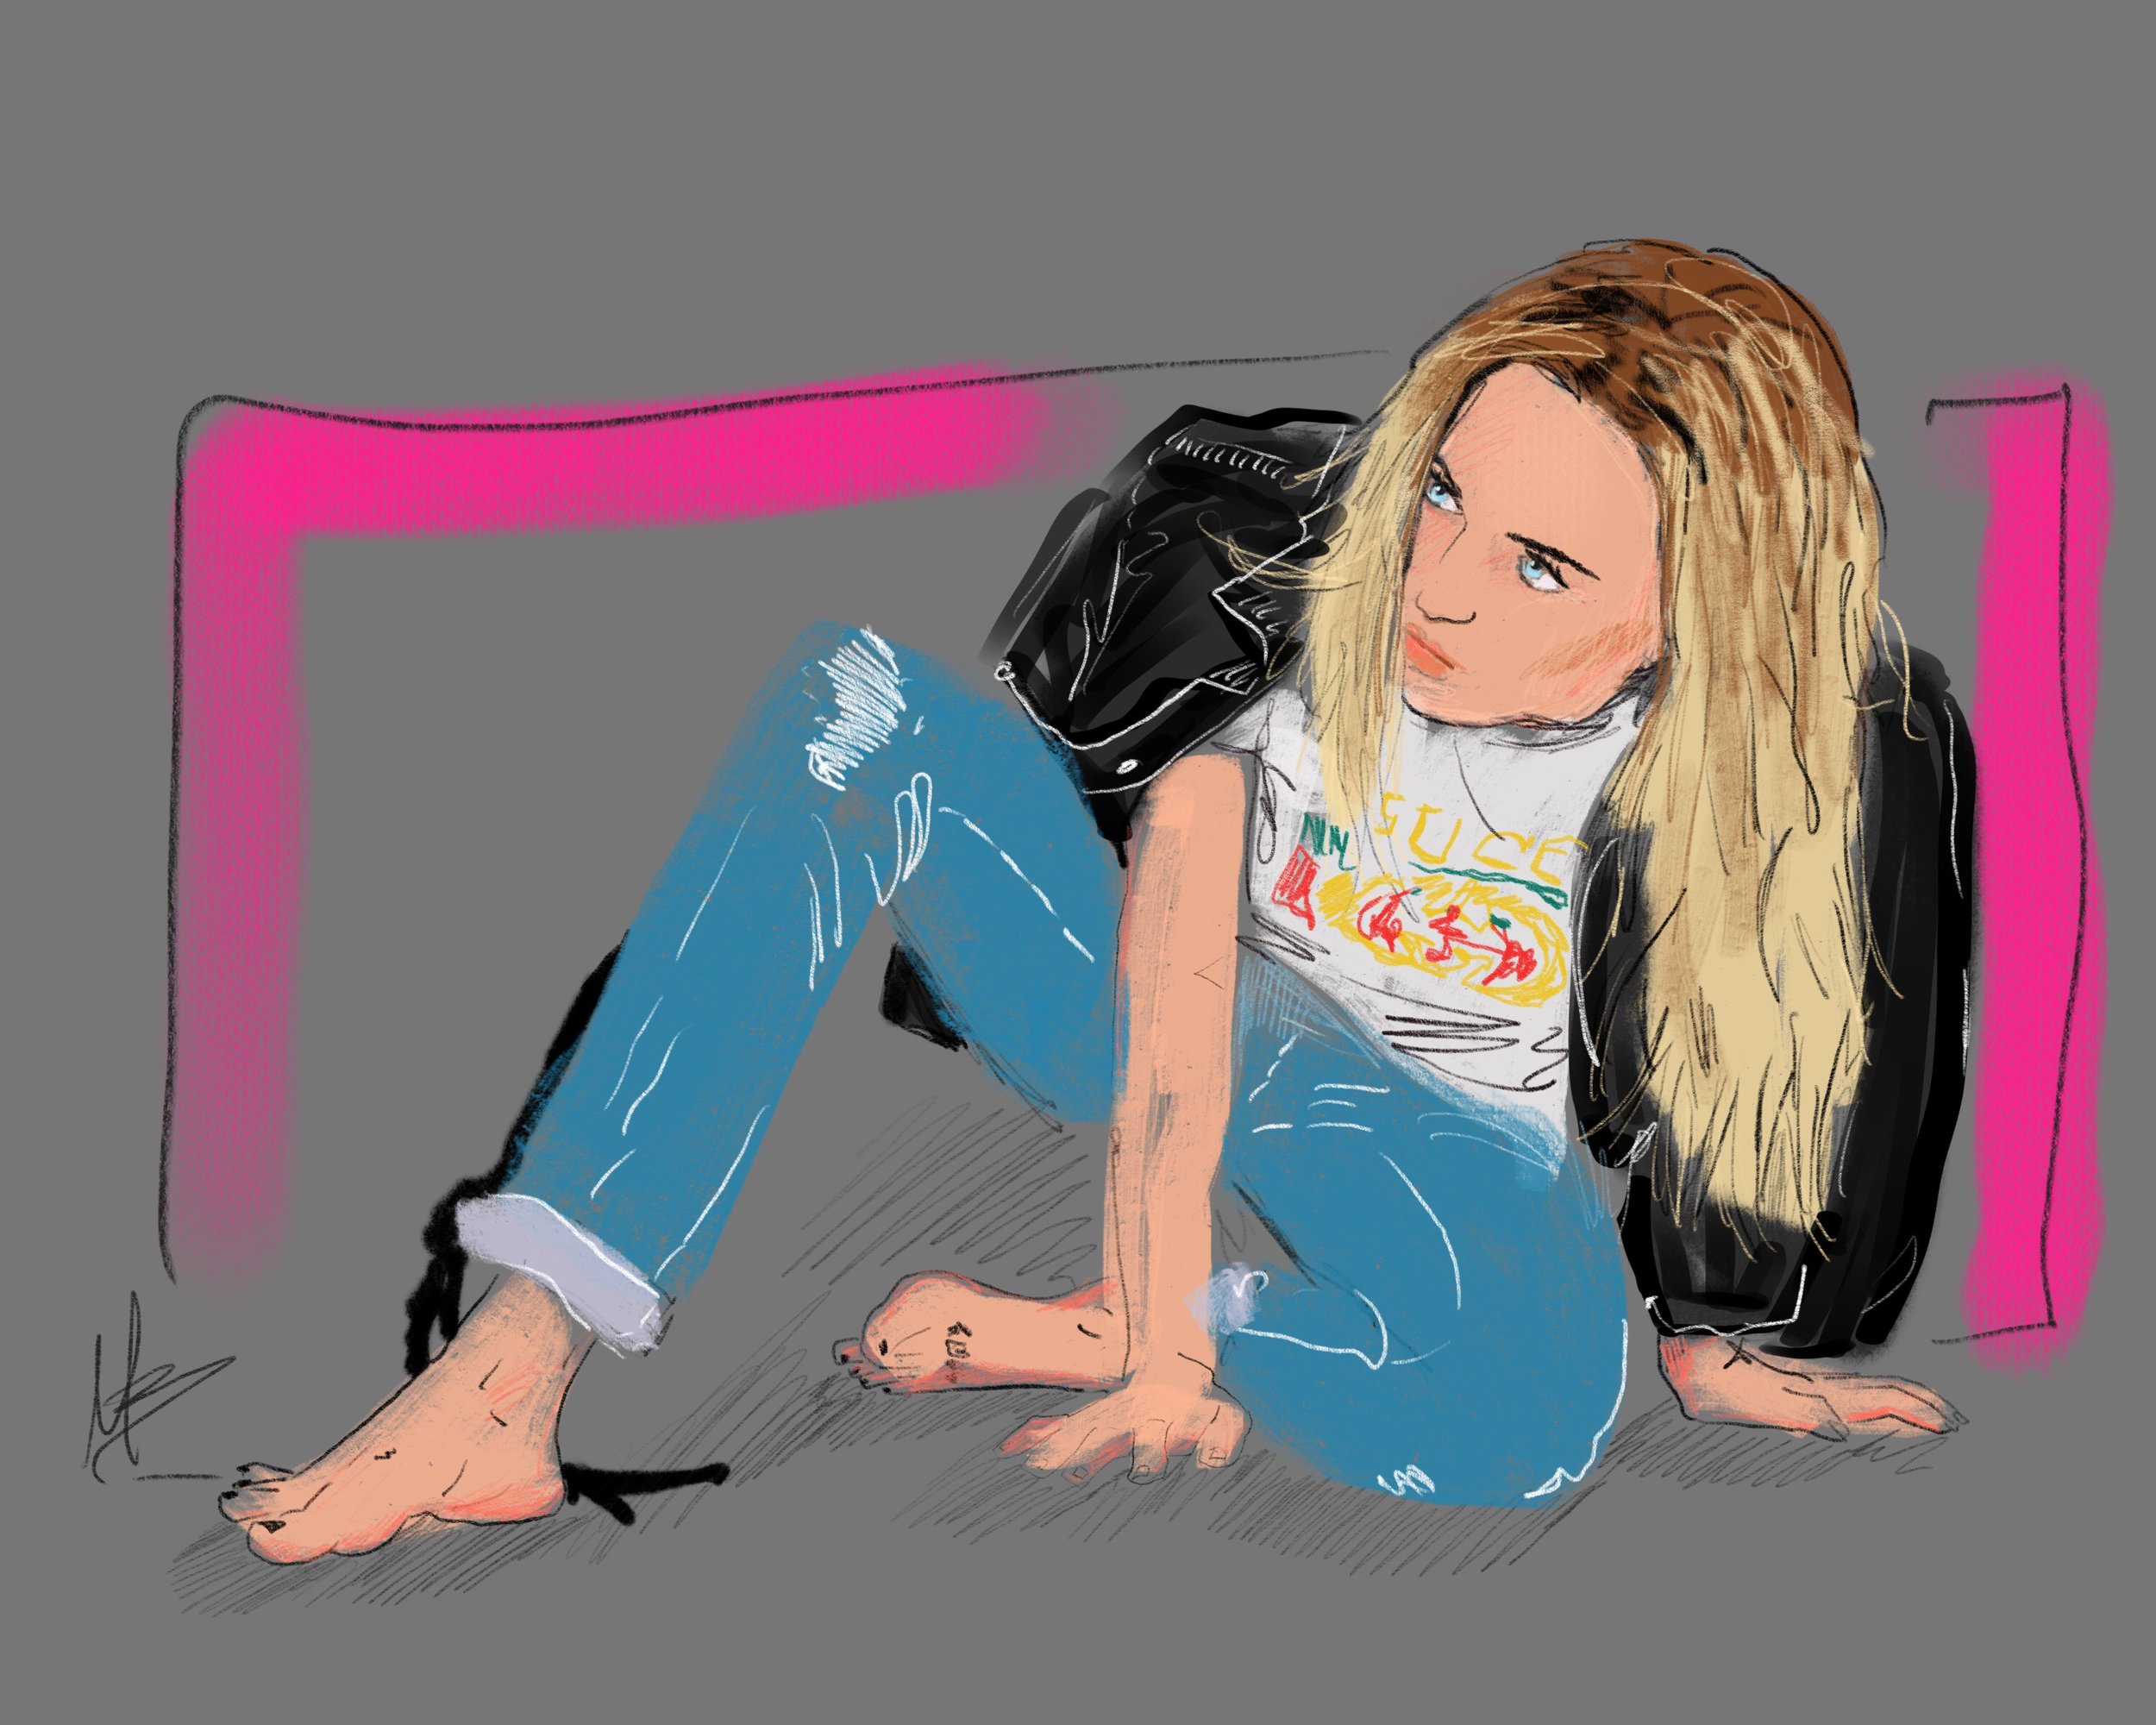
Fashion illustration and drawing lecturer Ana Stankovic shares some process and behind the scenes in this post.

Have you ever wanted an inside peek into an artists’ process?
Whether you consider yourself an artist or not, it’s always fascinating what you can learn by watching someone create.
Fashion illustration and drawing lecturer Ana Stankovic shares some process and behind the scenes in this post. She shares three methods:
Method 1: The Tracing Method
Method 2: Drawing with a Marker
Method 3: Drawing Exercises for Loosening Up
Why not try your hand with some of her techniques?


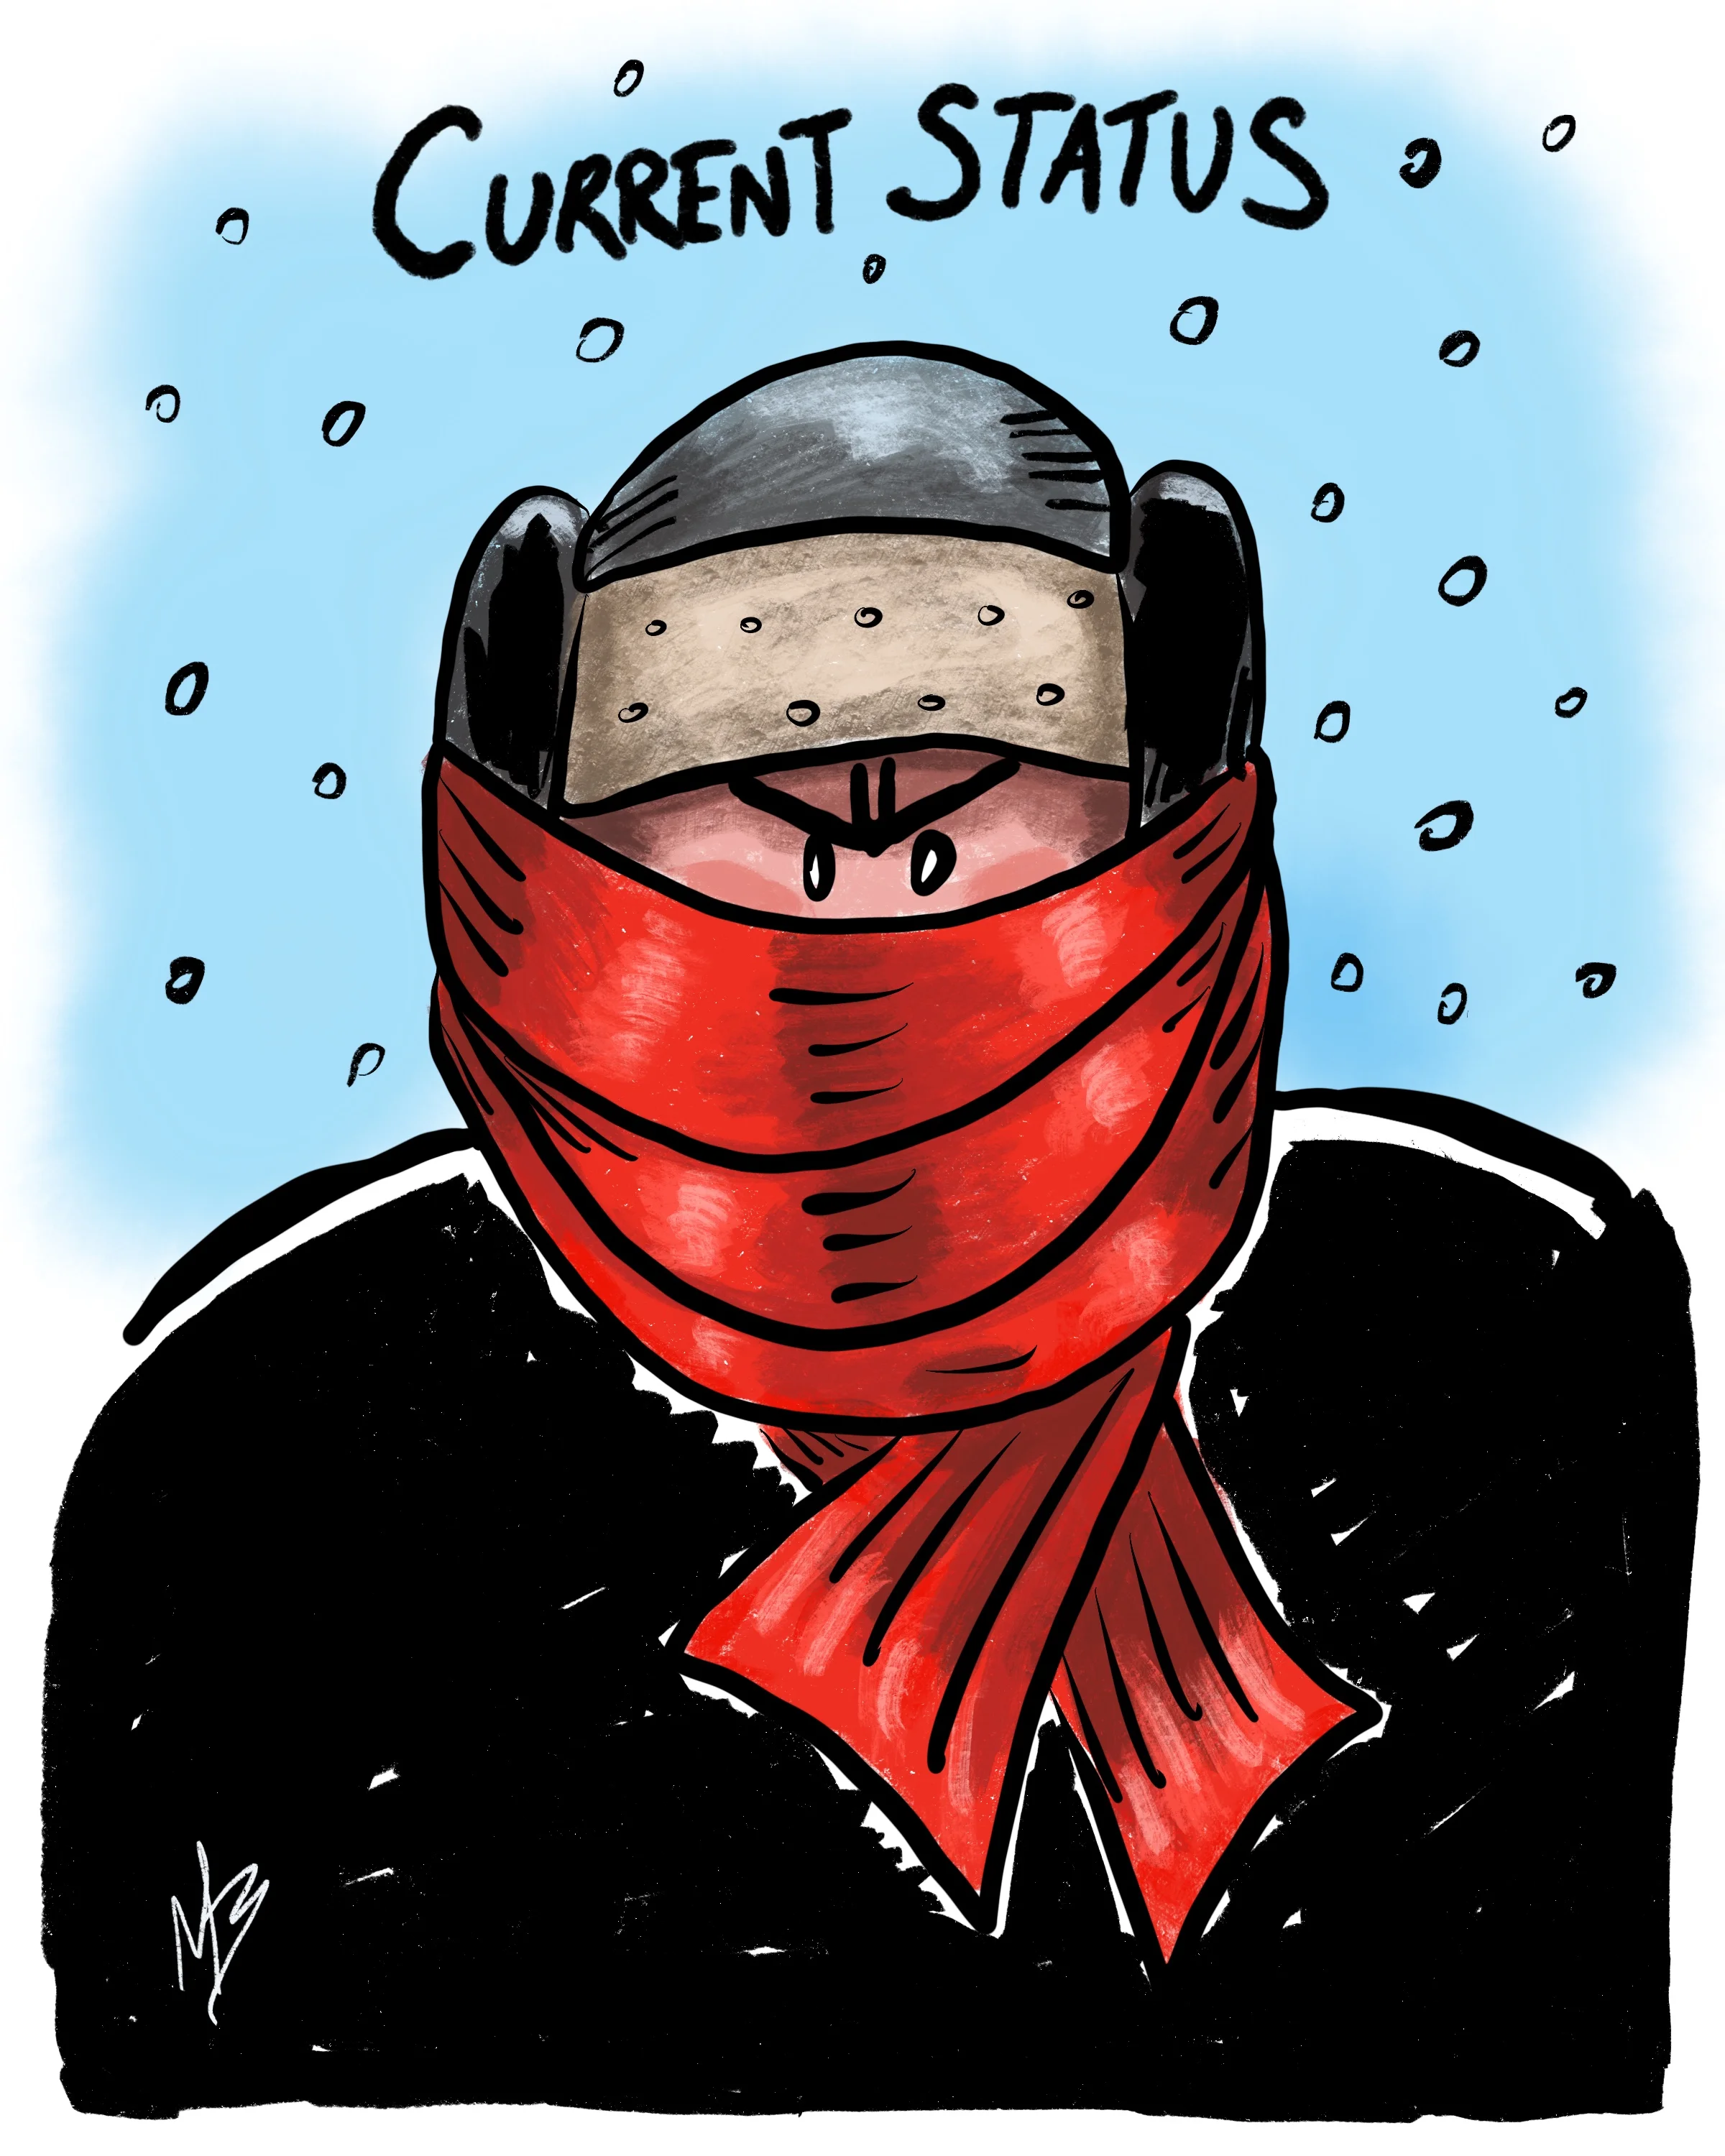


The moment it all changed. And it could for you, too.
About 5.5 -6 years ago I picked up a pen and a sketchbook after a 10 year hiatus.
This is what I sketched...

It's even a sucky photo...
About 5.5 -6 years ago I picked up a pen and a sketchbook after a 10 year hiatus.
This is what I sketched. A Starbucks coffee cup.
I both hate this drawing, and love it.
I hate it because it's embarrassing. It's a sucky drawing of a coffee cup. But I love this drawing because it signifies a rebirth. A phoenix moment. The moment I decided to push past my fear, those voices that told me I couldn't draw because I couldn't draw photorealistic renderings. The moment I choose to get back to my art because I needed it, for my soul.
I showed up that day. And the next. And almost 6 years later, I haven't missed a day of creating art.
This journey taught me about myself. I found my voice and style along the way. I connected my passions with my talents. I stepped into being an ARTIST, not just a graphic designer.
What is holding you back? What do you want to accomplish? It will never happen if you don't show up, and keep showing up.
Will today be YOUR phoenix moment?
Take a bold step, and leave me a comment on what you want to accomplish. That might be your first step, speaking it out loud!


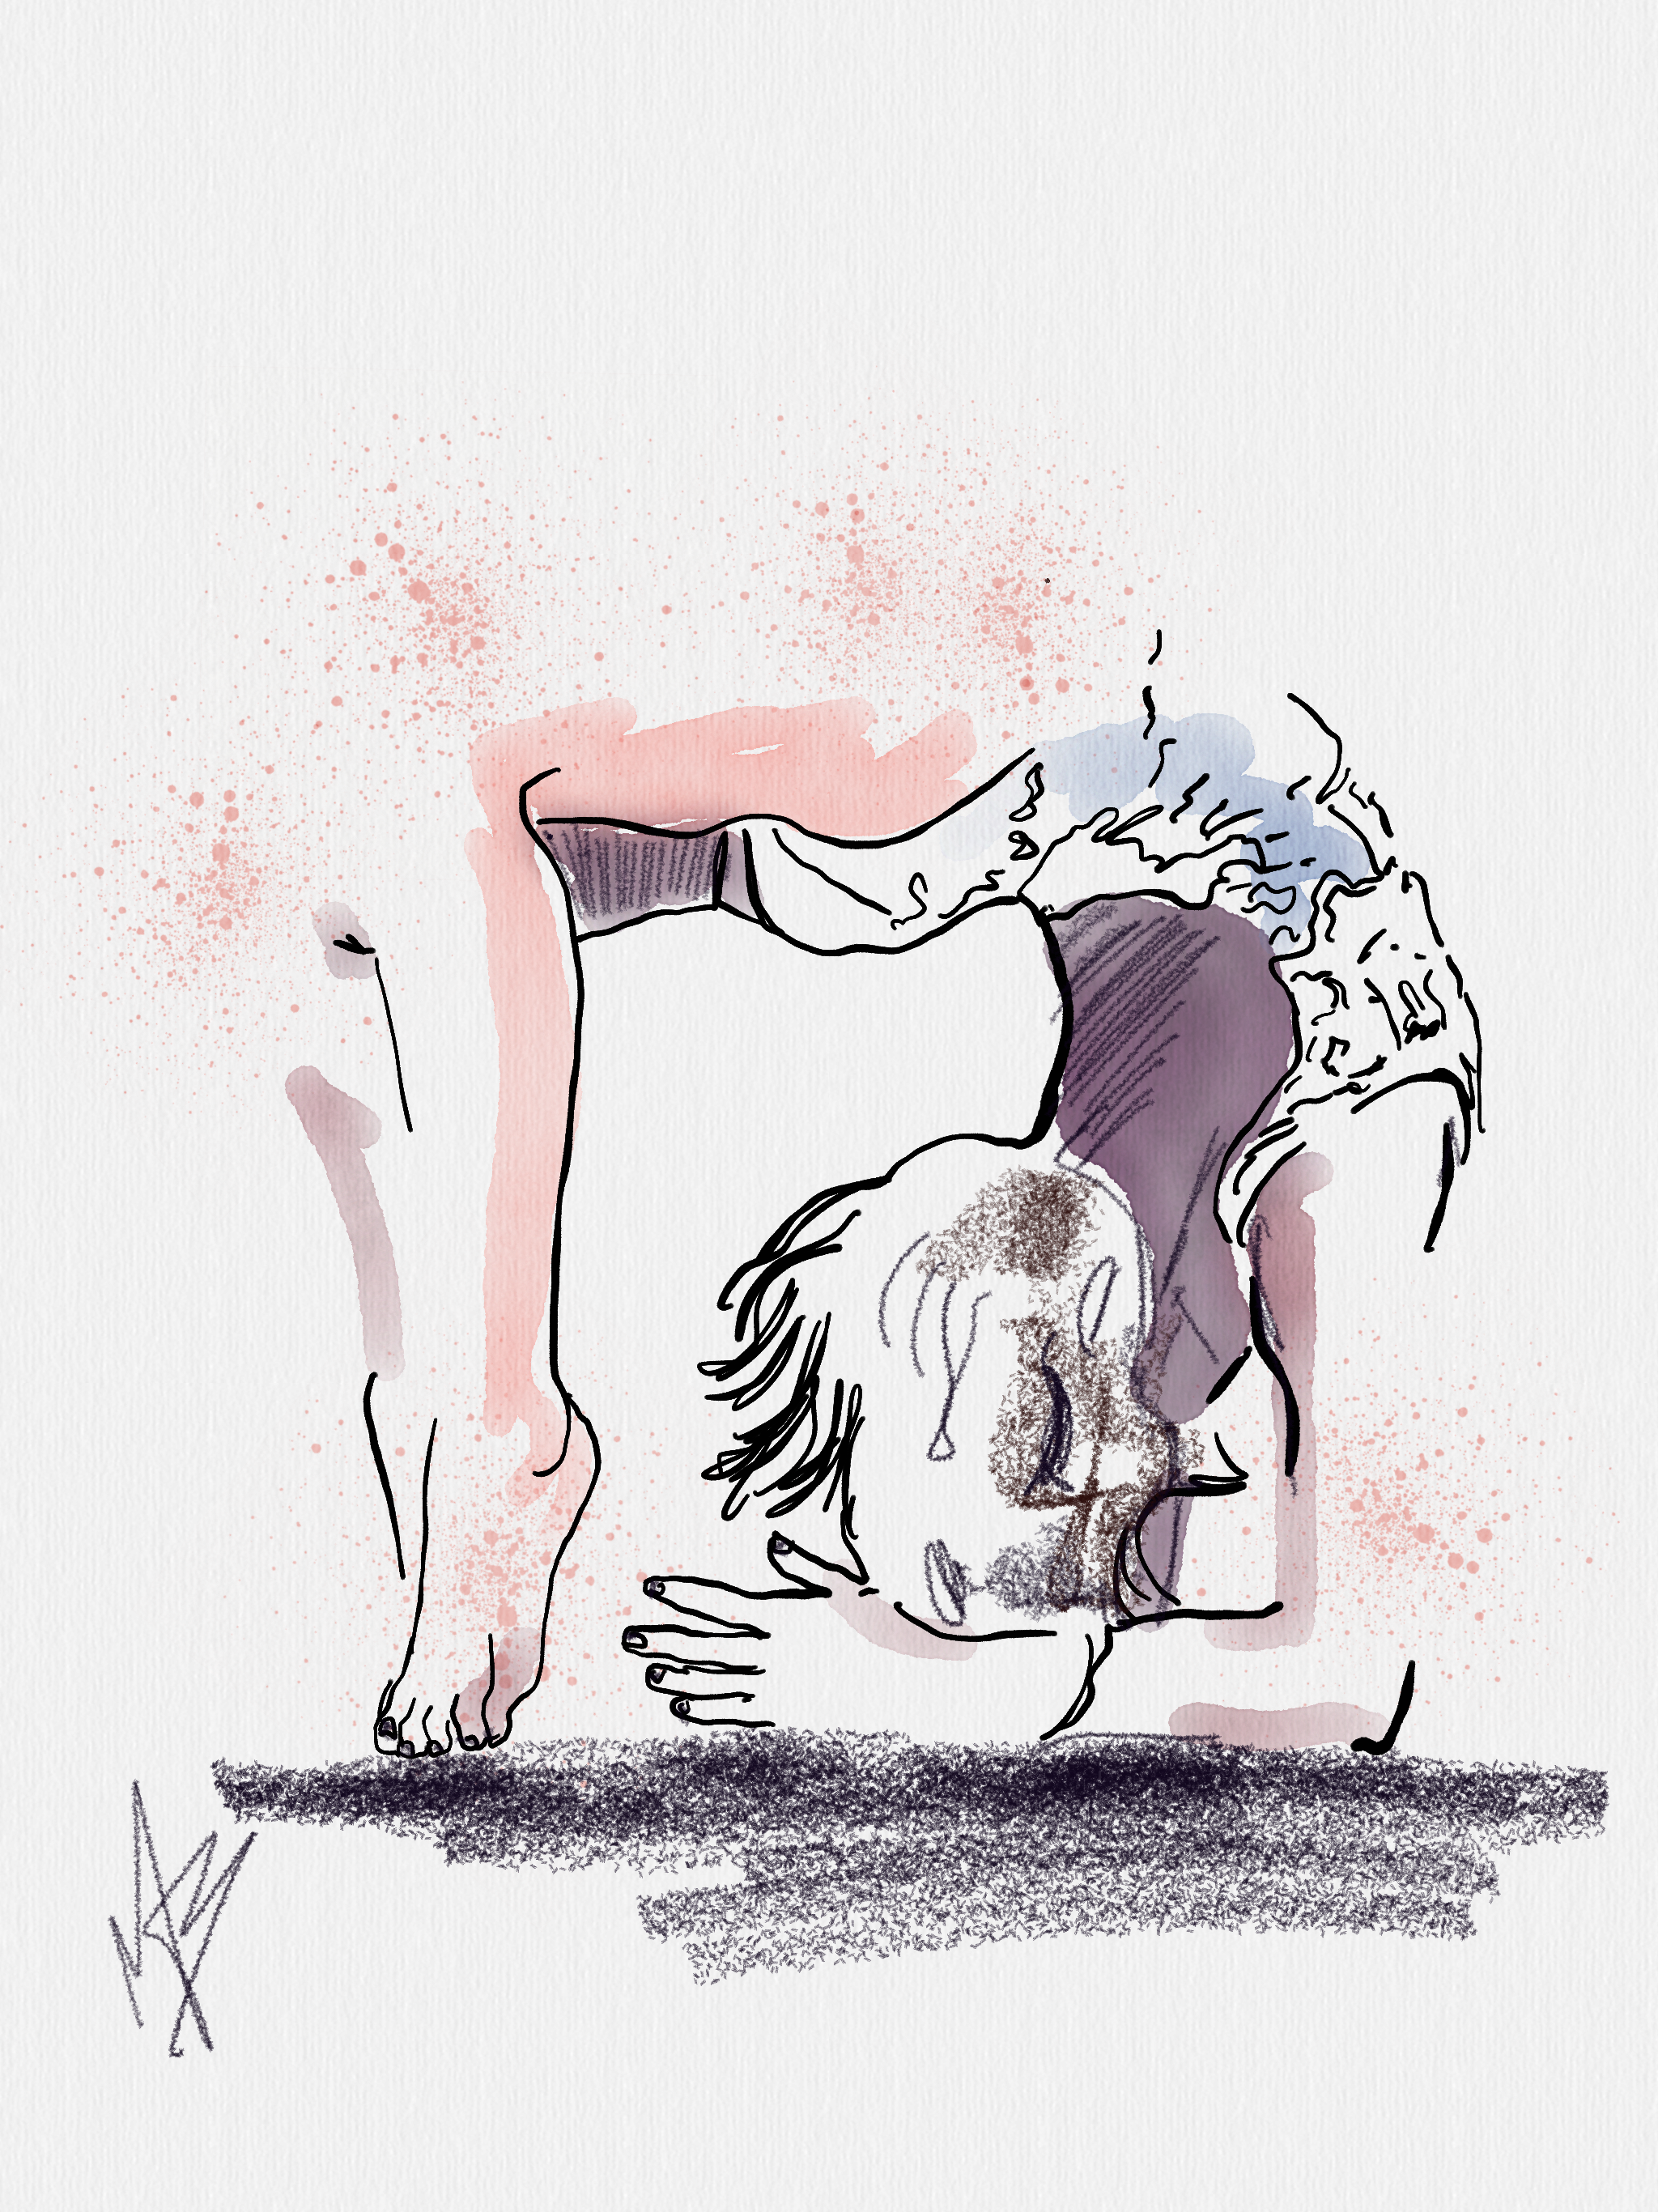


Tattoo?

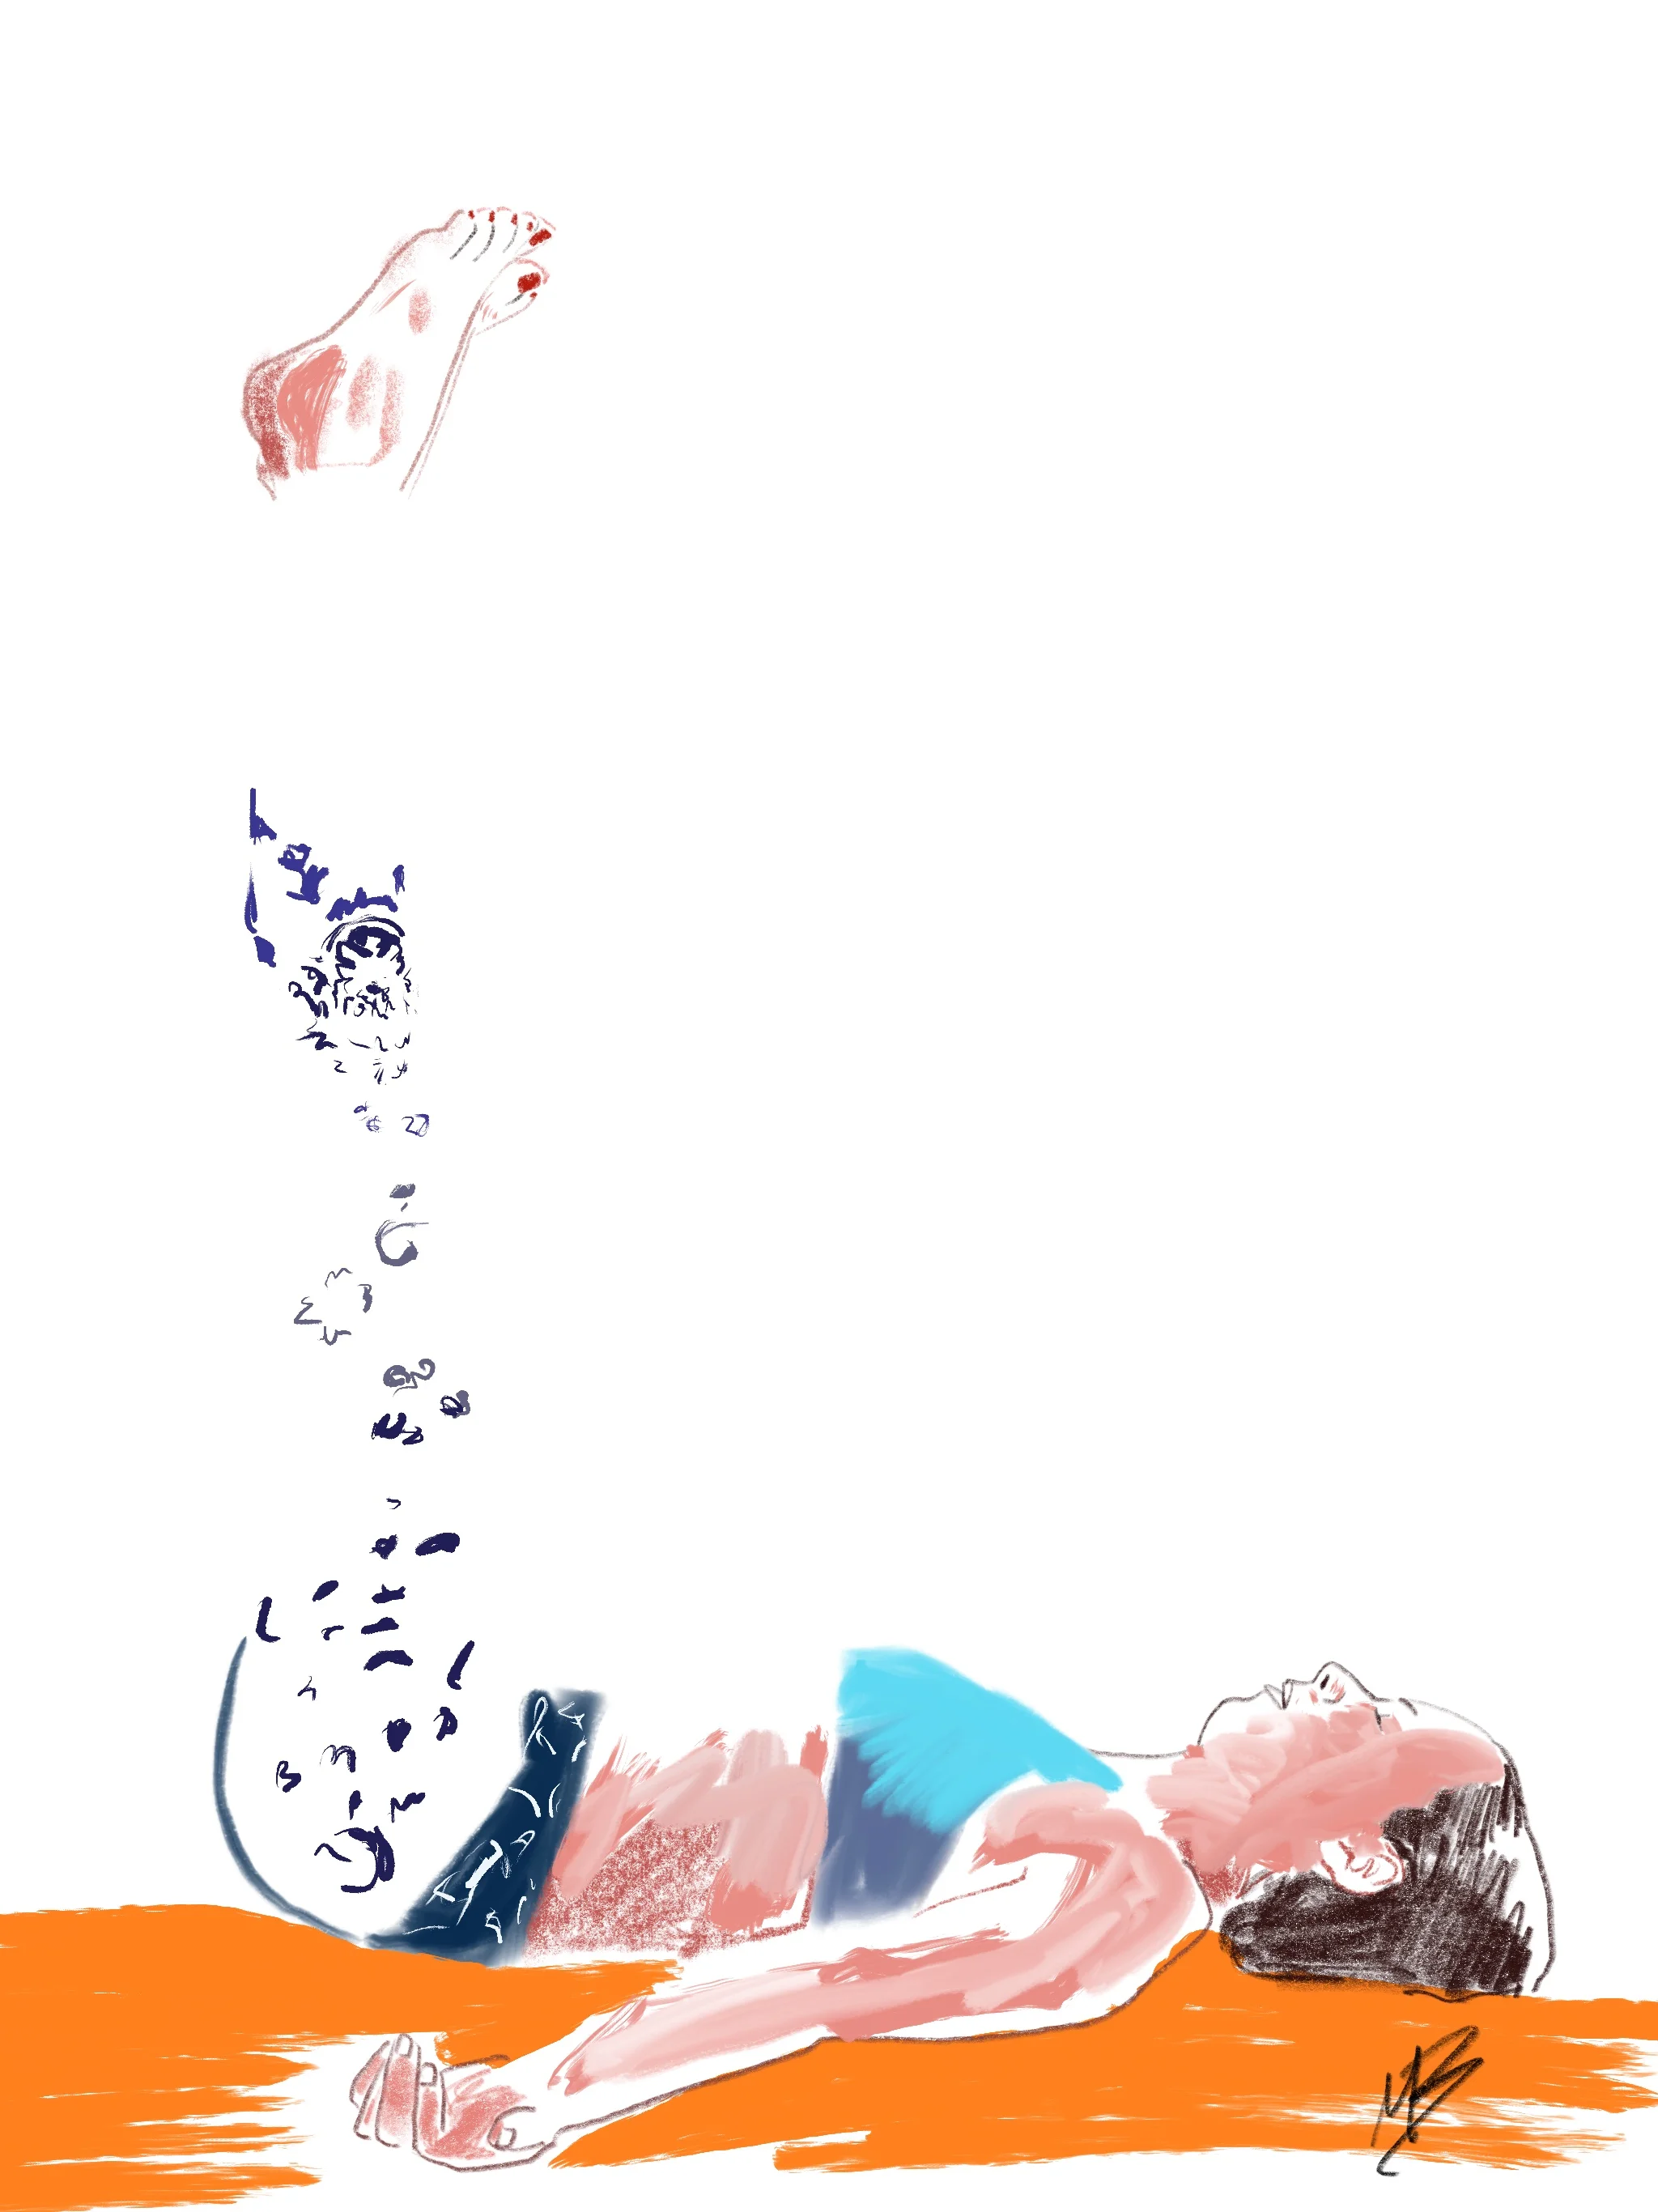
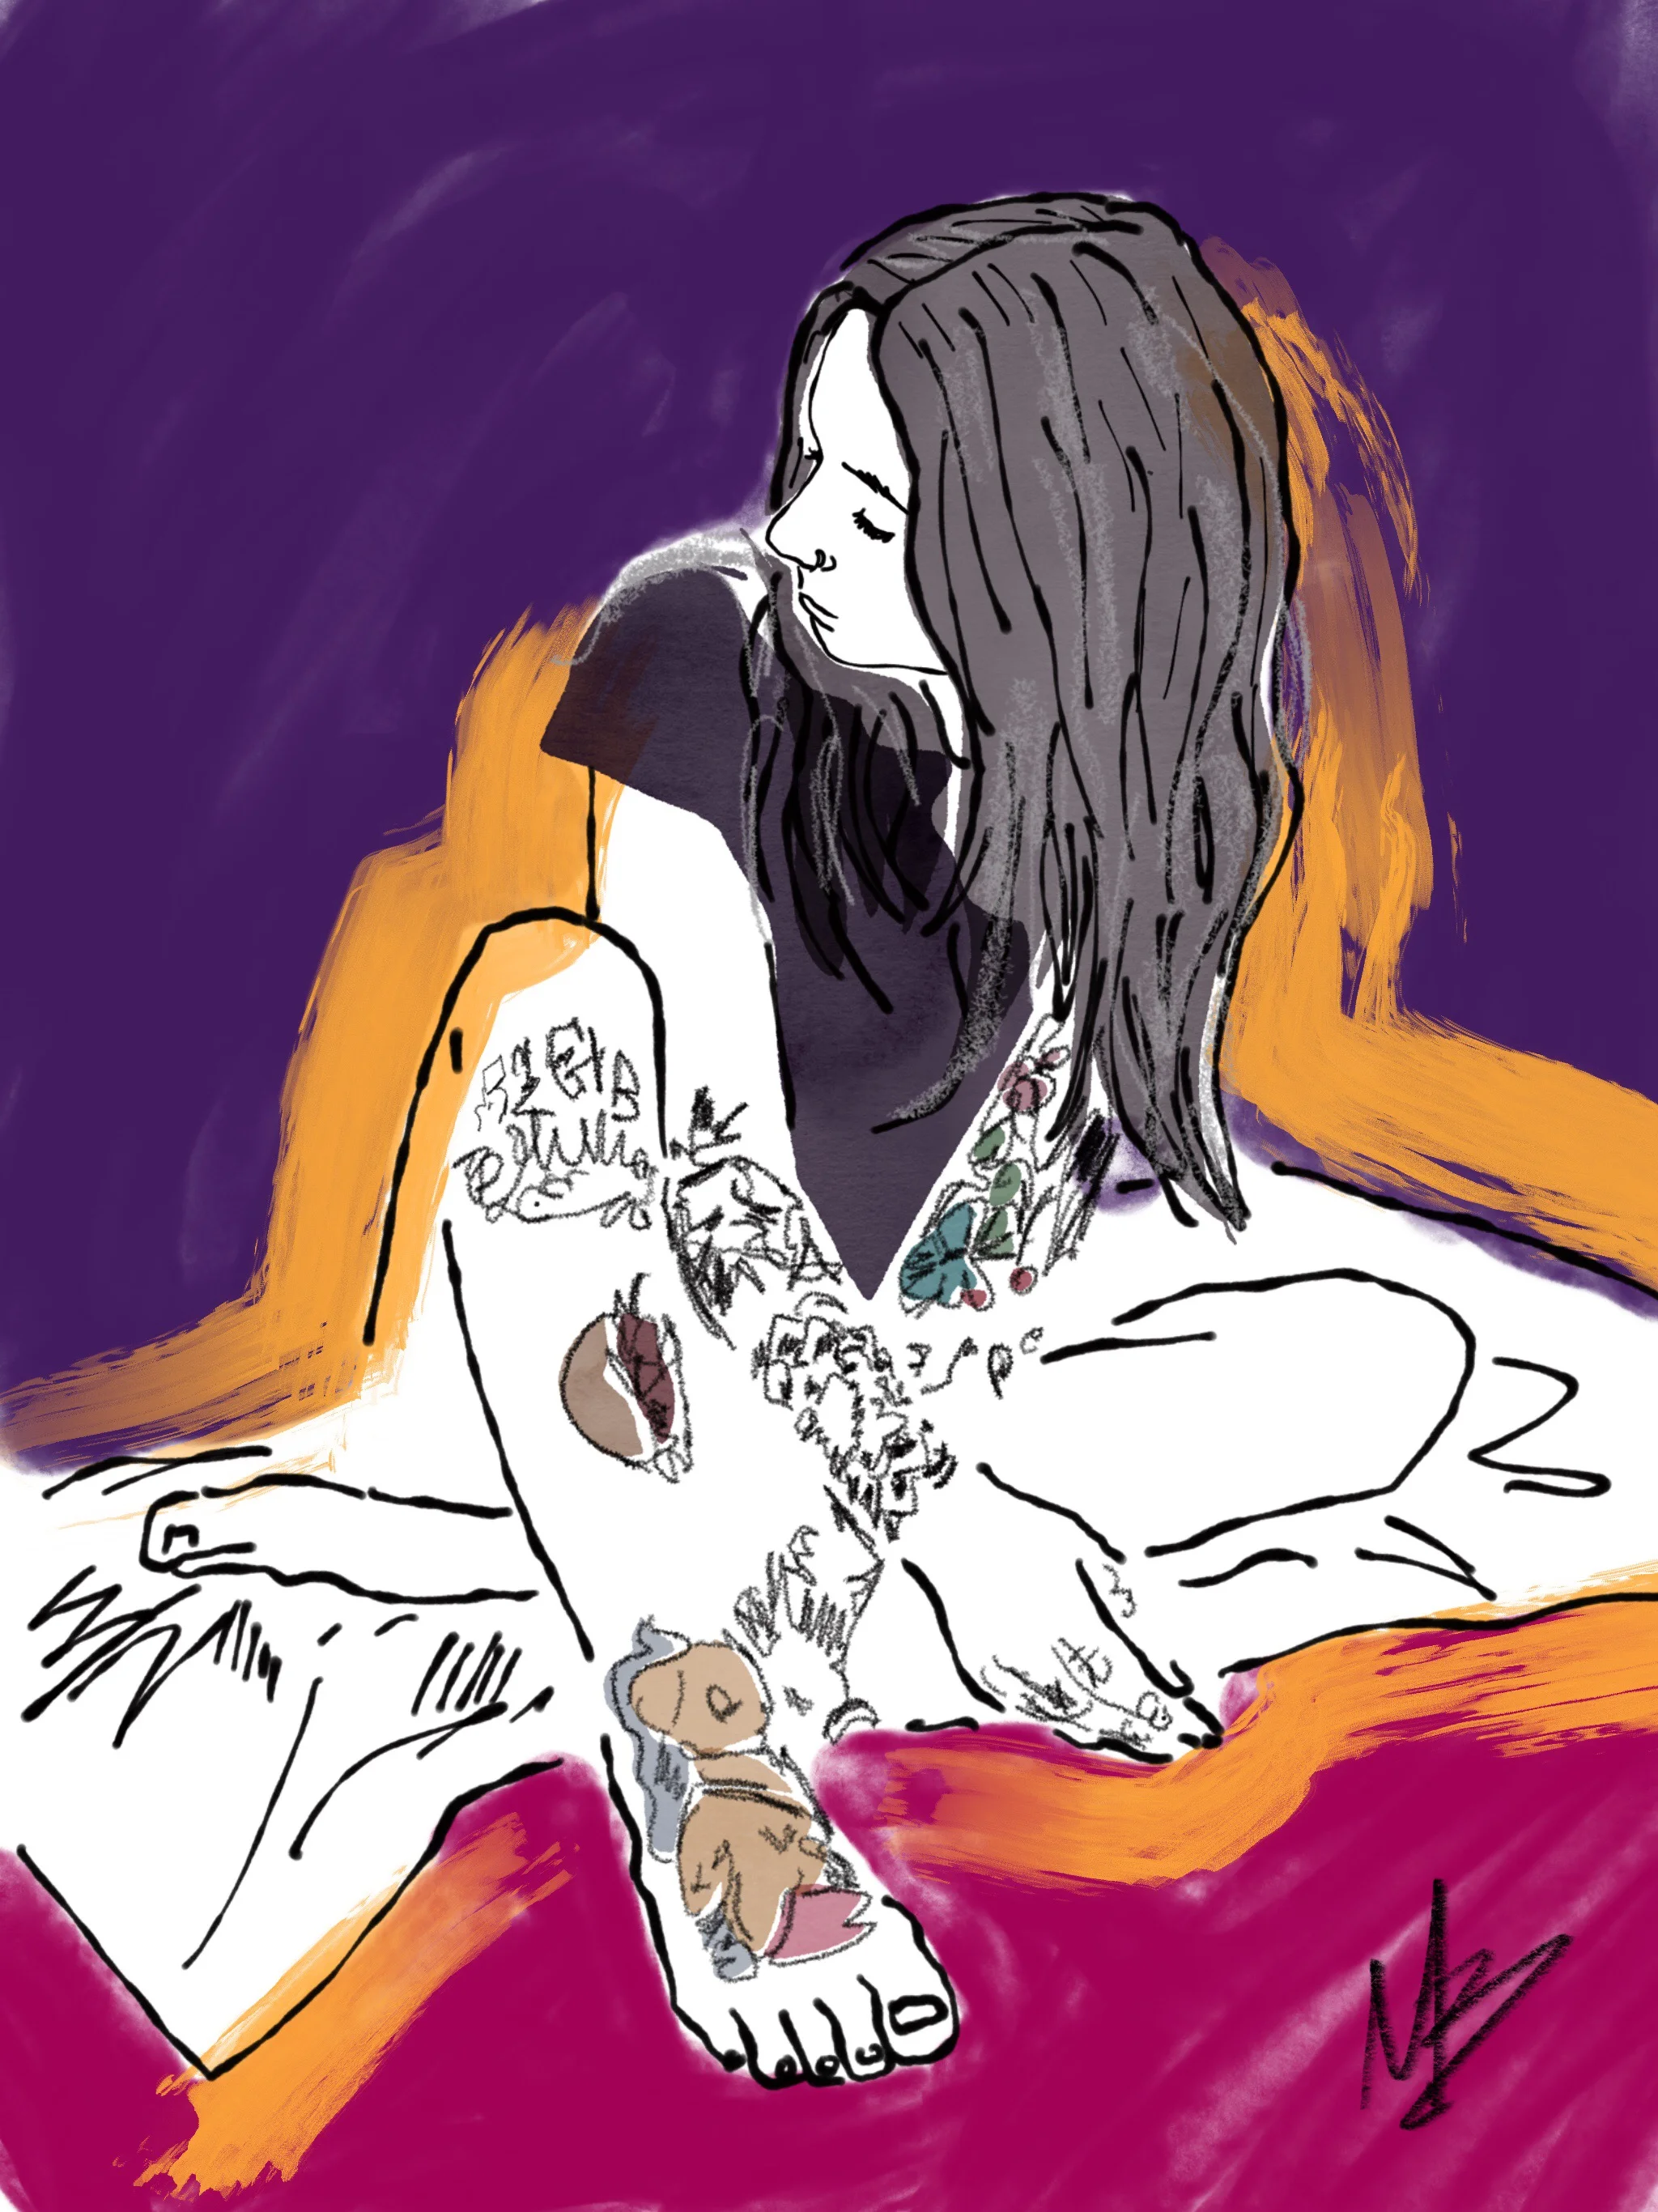
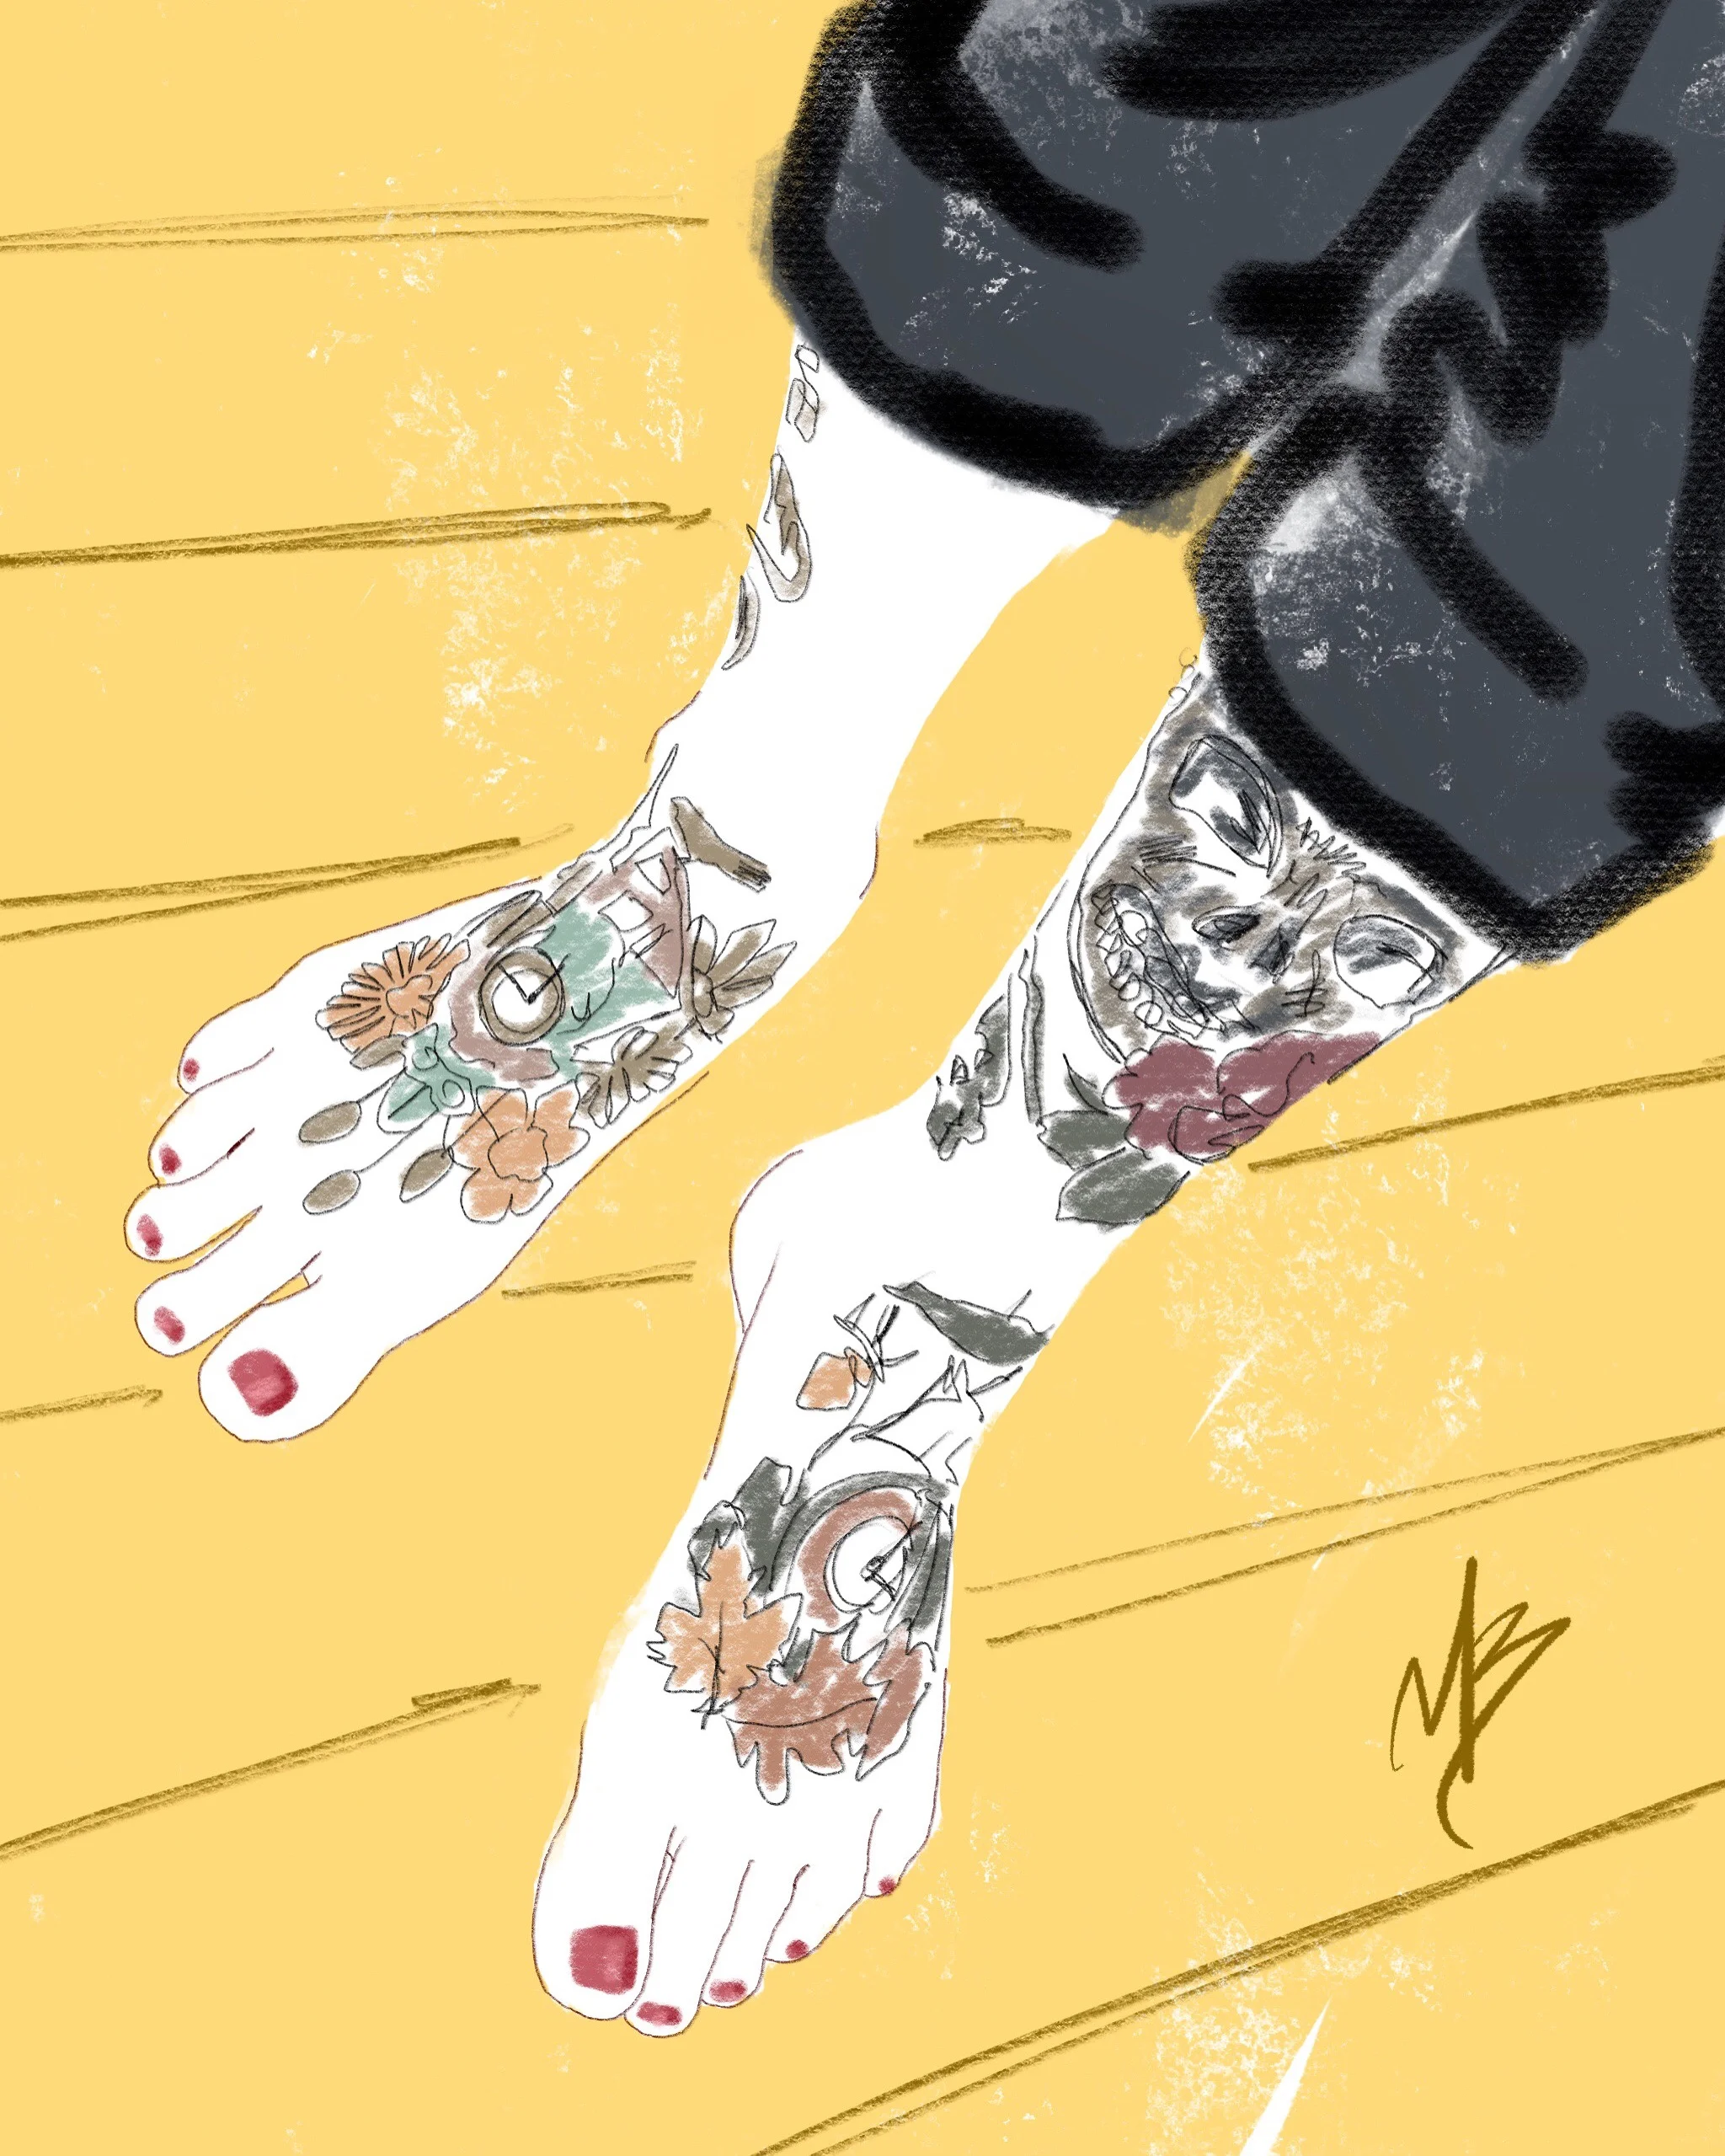
Do you have any tattoo's? Of what? Where? Would you get them again? Is there a special meaning behind them or was it on a whim? I don't have any tattoos as I'm a whimper, but if I ever did get one, I finally know what it would be. The word "Beloved" - as a reminder of my true identity & how God sees me. Tattoo feet Art inspired by @nelixion.inked.life#art #tattoo #feet #tattoos #artist #ink #digitalart

The Birth of a Digital Artist in the Midst of Nuns and Video Games
My parents were big believers in education, and specifically staying up on technology. Perhaps they saw how the ever-evolving technology surrounding computers was effecting their world even in the early 1980's. So they made sure their kids had opportunity to learn.
My first computer class was in the basement of a convent...
My parents were big believers in education, and specifically staying up on technology. Perhaps they saw how the ever-evolving technology surrounding computers was effecting their world even in the early 1980's. So they made sure their kids had opportunity to learn.
My first computer class was in the basement of a convent. No joke. It was on an Apple II computer. This all makes sense to me now, as it solidified my pursuit of my beliefs, established me as a die hard Apple user, and drew me into loving technology. I just left the nun part alone. (although I was a Pastor for a number of years, so there's that.)
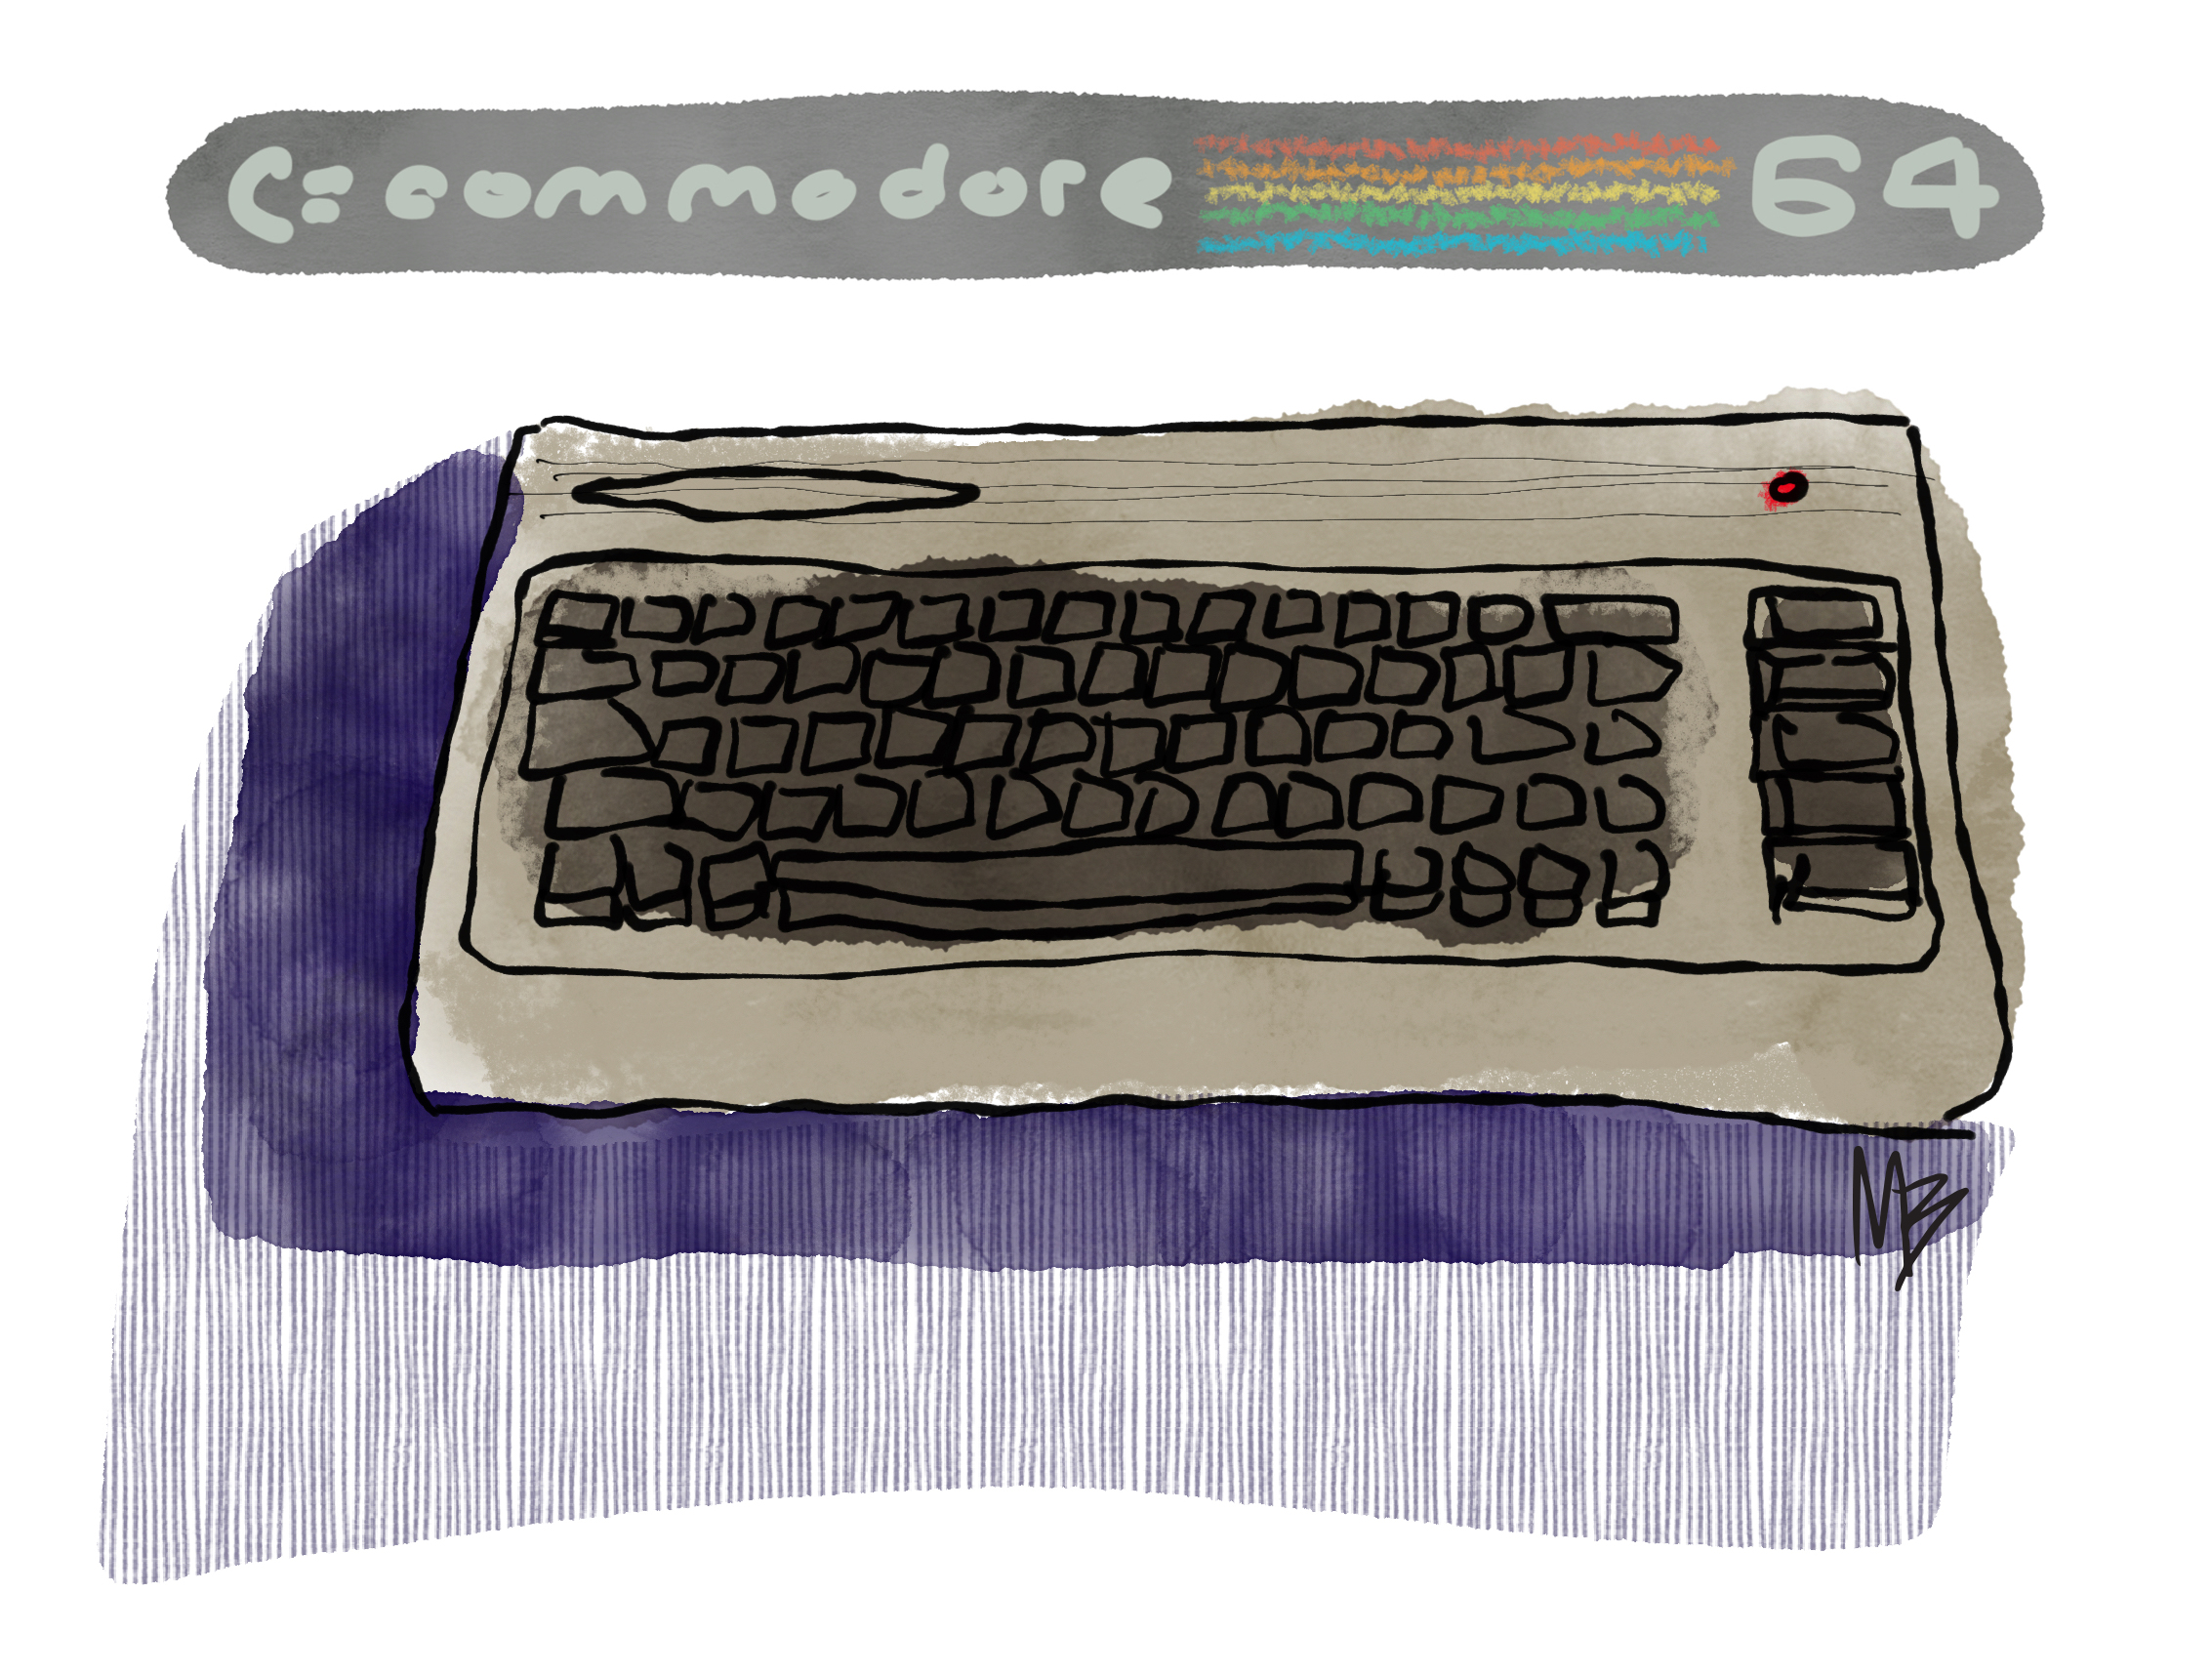
Fast forward to around 1983, and my parents got me my very own computer, a Commodore 64. I used it mostly for trying to copy code from the Compute! Gazette magazine (which mostly failed. No bouncing ball for me) or playing video games (Rambo, Bruce Lee and Spy Hunter to name a few). I had proudly graduated from my Atari 2600. Now I was living the dream, compete with my newly found information of using both sides of a floppy disc and pirating software with friends (This went downhill fast, didn't it?)
I remember vividly, when I was in the 8th grade, and my parents had bought me a KoalaPad touch tablet (it's pretty crude by today's standards, but revolutionary for 1984.) and an Okidata Okimate 10 color printer (color, oh my!) for my Commodore 64.
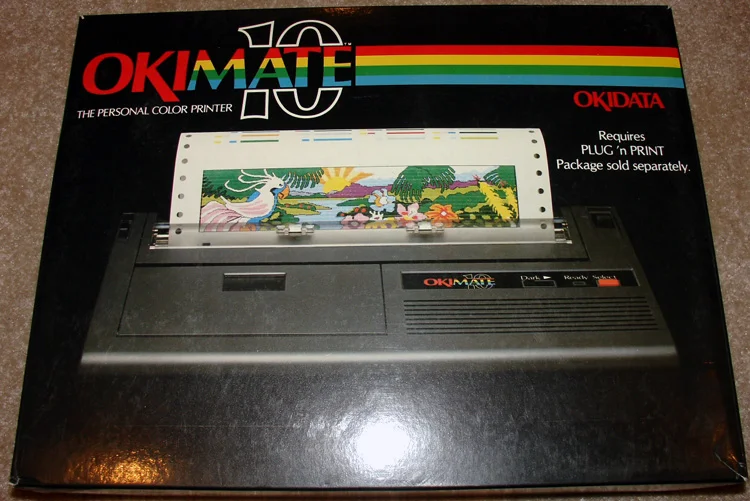
Okidata Okimate 10 Printer. State of the art for it's time!
The KoalaPad was a drawing tablet that consisted of a 4″x4″ drawing area and two buttons, and was released by Koala Technologies for multiple 8-bit computers The KoalaPad also came with KoalaPainter, a pretty basic drawing program that allowed useres to draw basic shapes, colors, and load and save their creations. I know this sounds like stone tablets to todays users, but there was no PhotoShop. This was it!
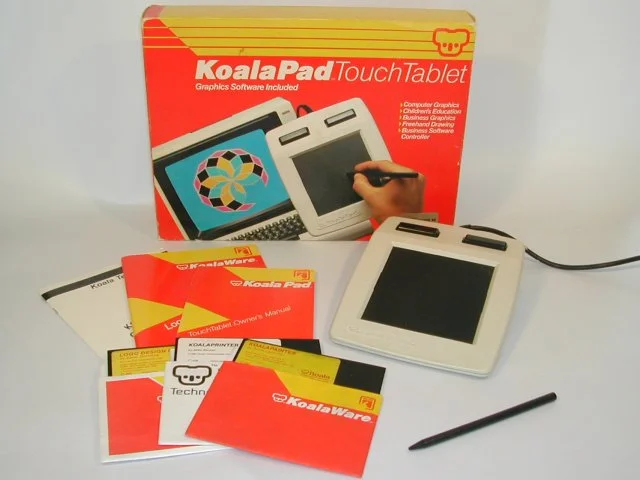
KoalaPad - the original "Pad"
This opened up a new world for me. I already loved drawing, but the thought of drawing using the computer, fusing together two things I loved? Now, that was where it was at.
I knew that my 8th grade English teacher shared a love of Opus from the comic strip Bloom County, so I drew her an Opus and gave her a color printout. She treasured it, and my desire to use art with technology to bring people joy was solidified. Even that early age, I understood the importance of serving others through my art and bringing them value.
Ever since I was a kid, my art has always been connected to helping people. My first memories of creating were centered around drawing pictures and creating my own greeting cards for family and friends. I loved the way my art made an impact on them and brought them joy. So all of this just made sense to me.
Today, I do a wide variety of types of art – graphic design, pet portraits, pop culture art, faith based and more. It is still creating art that connects with the heart around shared experiences. And a lot of my art is digital, a medium some feel lacks heart ironically. The tools have changed (thankfully!) but MY heart hasn't.
I'm so thankful for those humble beginnings. They laid the foundation for today. I had no idea back in the basement of that convent that I would one day be pursuing art and technology, leveraging them for the benefit of others.
So what about you?
What past experiences of yours have contributed to what you are doing today?
Leave me a comment. I'd love to know!
Something's Sketchy
 If you've been following me for any length of time, you know that I've recently renewed my love for drawing. I've been filling up art journals like crazy and posting my sketches on the web. Part of the challenge is to keep finding interesting subjects to draw, whether from real life or photo reference. That's where you come in...
I want to invite you to be a part of the process. Are you ready?
Here's your chance to pitch something for me to sketch. Between today and September 15th, 2013, I will be accepting photos from you - things you want me to sketch. After all the submissions are in, I will randomly pick a winner and sketch their subject matter. When I finish, I will post it here and on Twitter/Instagram and then will mail the lucky winner the original artwork!
Are you in?
A few rules:
** Open to US only. I'm paying the shipping charges :) 1. You MUST enter a comment below introducing yourself - your name, where you are from, a twitter name / website and why you want to be the lucky winner. 2. Email me (MBsketchme at gmail dot com) ONE image only (must be your own image - no googling images or stealing from others). 3. Image specs: must be a high resolution and clear image. I need to be able to see details! 4. Image content: NO Explicit images! // No landscapes or crowds // Iconic images work best (IE - an object or person, part(s) of a person, animal, plant. machine, etc) Look at my sketches to see the types of things I've done. 5. The final artwork will be my artistic interpretation (I may exercise "artists rights" to crop or colorize, etc.). Ink & Watercolor medium. Final dimensions TBD but will be no bigger than 8.5 x 11. 6. There is nothing legally binding about any of this. It's just pure fun! You must abide by all rules to have a valid entry! Good Luck!